Breakfast Nook Before + After
Get ready for one giant blog post! I’m diving into absolutely everything that went into creating our breakfast nook makeover. How to remove old (sometimes double layered) wallpaper, how to prep, paint, and stencil a tile floor, and ALL the supplies you need to do it yourself!
This was one of the rooms I was most excited to work on. It was already so charming to begin with, but I couldn’t wait to pack it with even more charm! The photo below shows how it looked during our house tour with the previous owner’s furniture and decor.
Wallpaper
Removing the wallpaper was the first step in transforming this space. It was adorable with a nostalgic grandparents house feel, but with the stenciled floor, there would be too many clashing prints. Maybe if I knew what this wallpaper had hiding underneath it, I would have left it alone. I was pretty set on the starry floor, though, and didn’t want it competing with floral wallpaper.
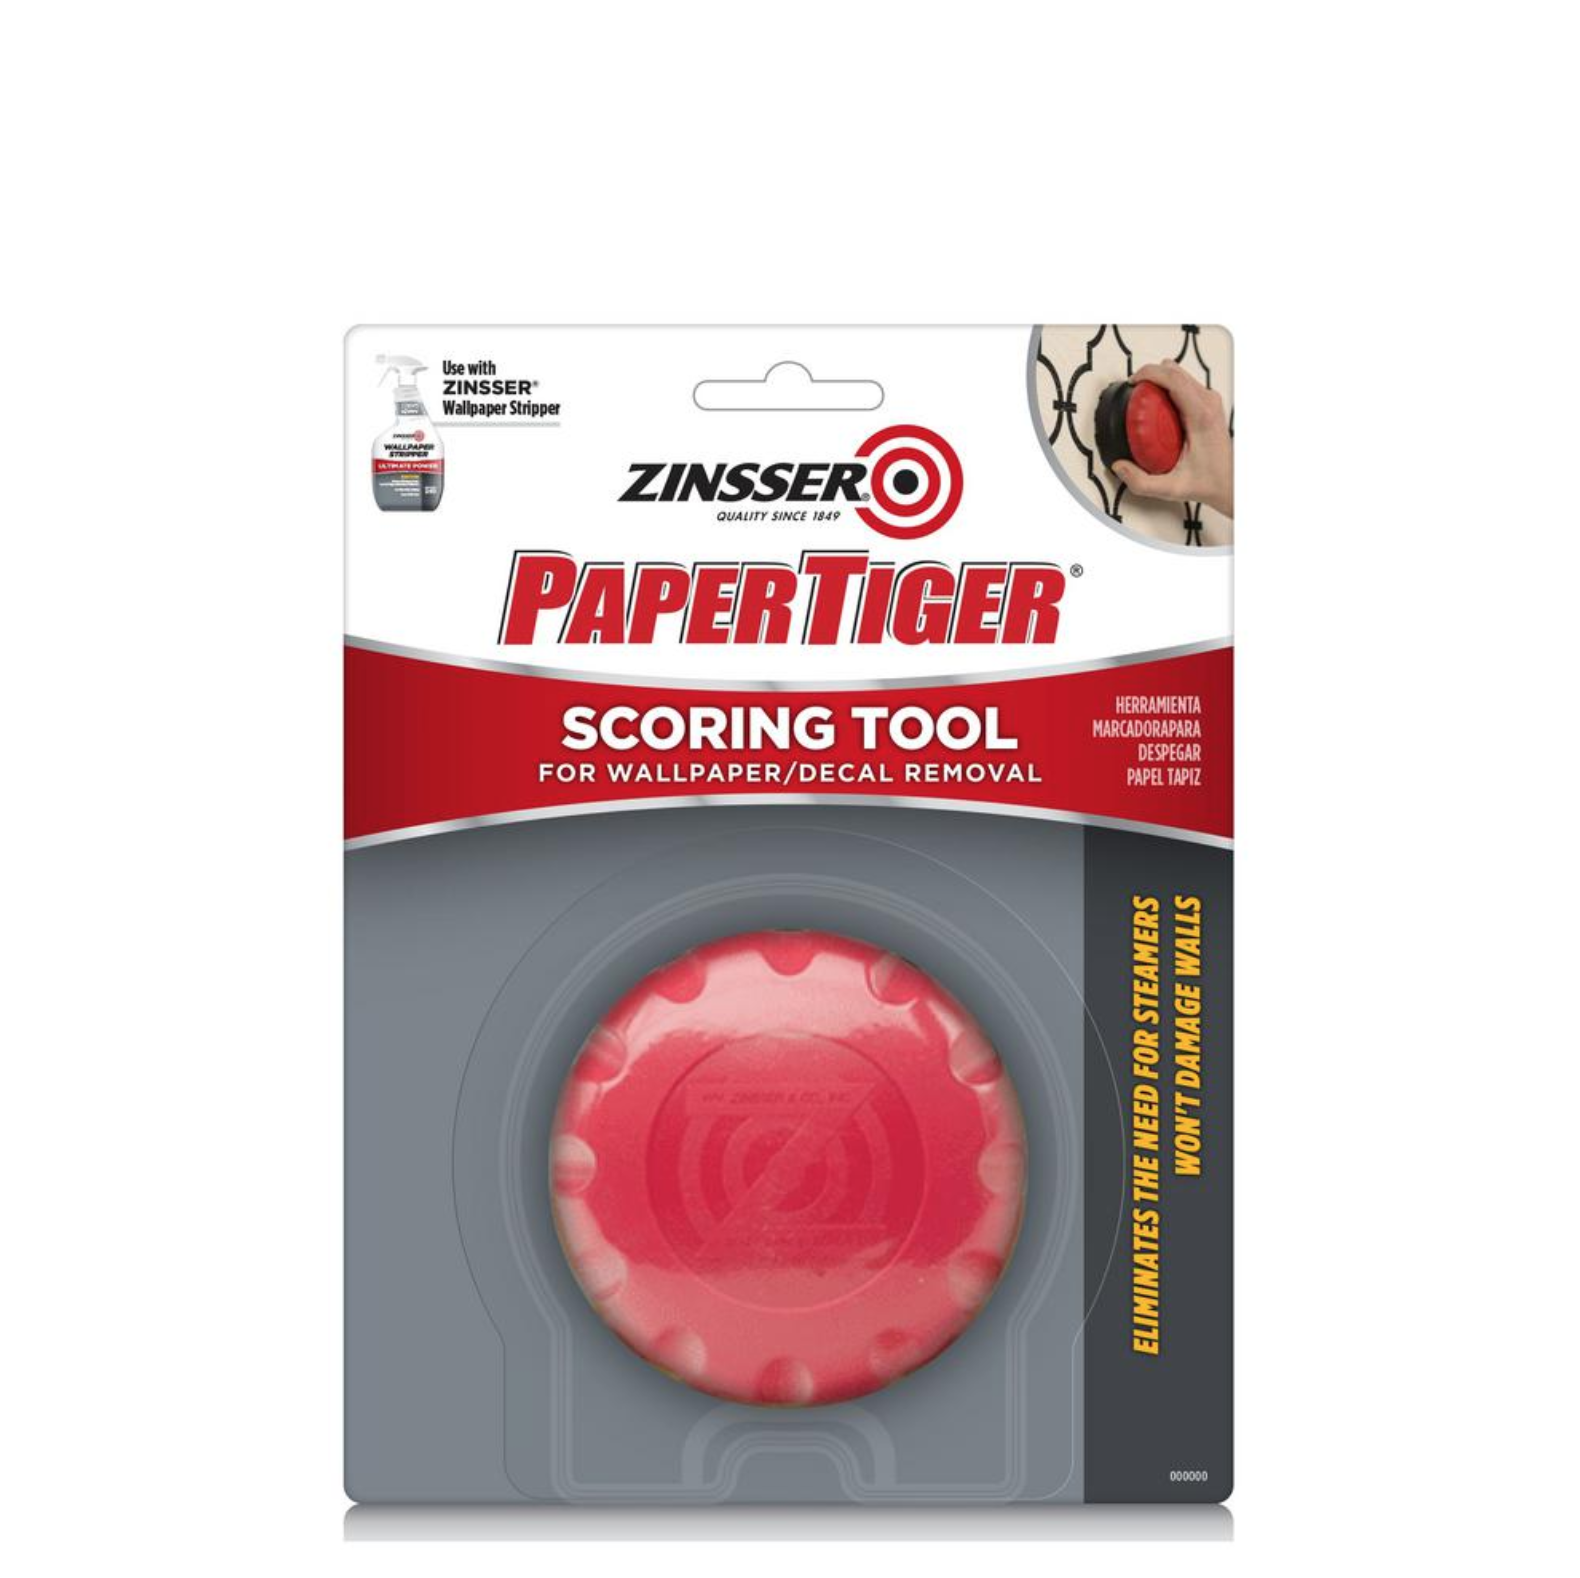
Scoring
I started by prepping the wall with my scoring tool (linked below) which creates small holes in the wallpaper. Move the scoring tool in circles over the whole surface and apply only light pressure to avoid creating dents in your wall. This makes it a lot easier for wallpaper stripper or a steamer to get through to the adhesive.
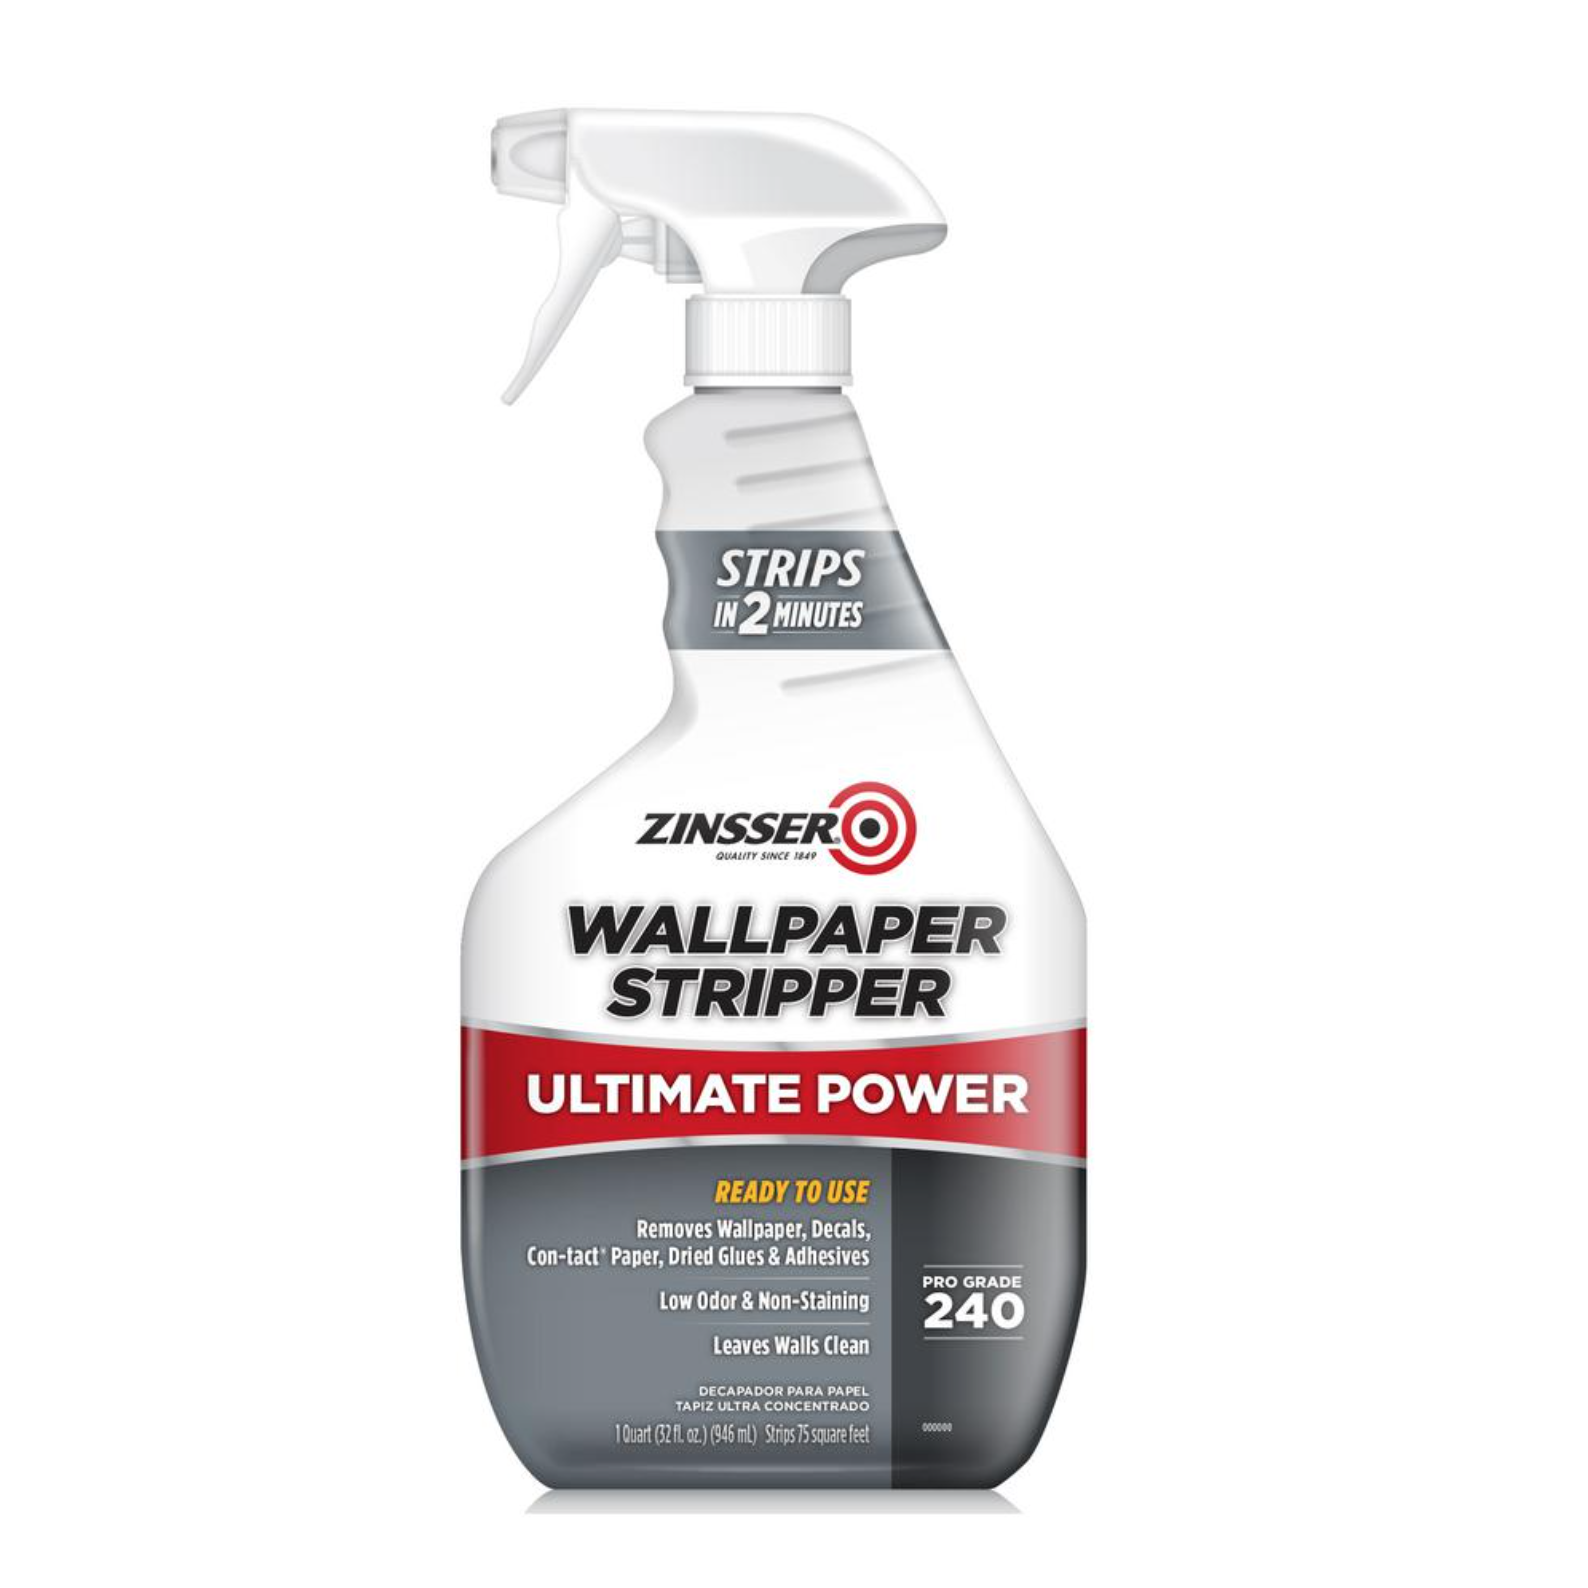
Wallpaper Stripper
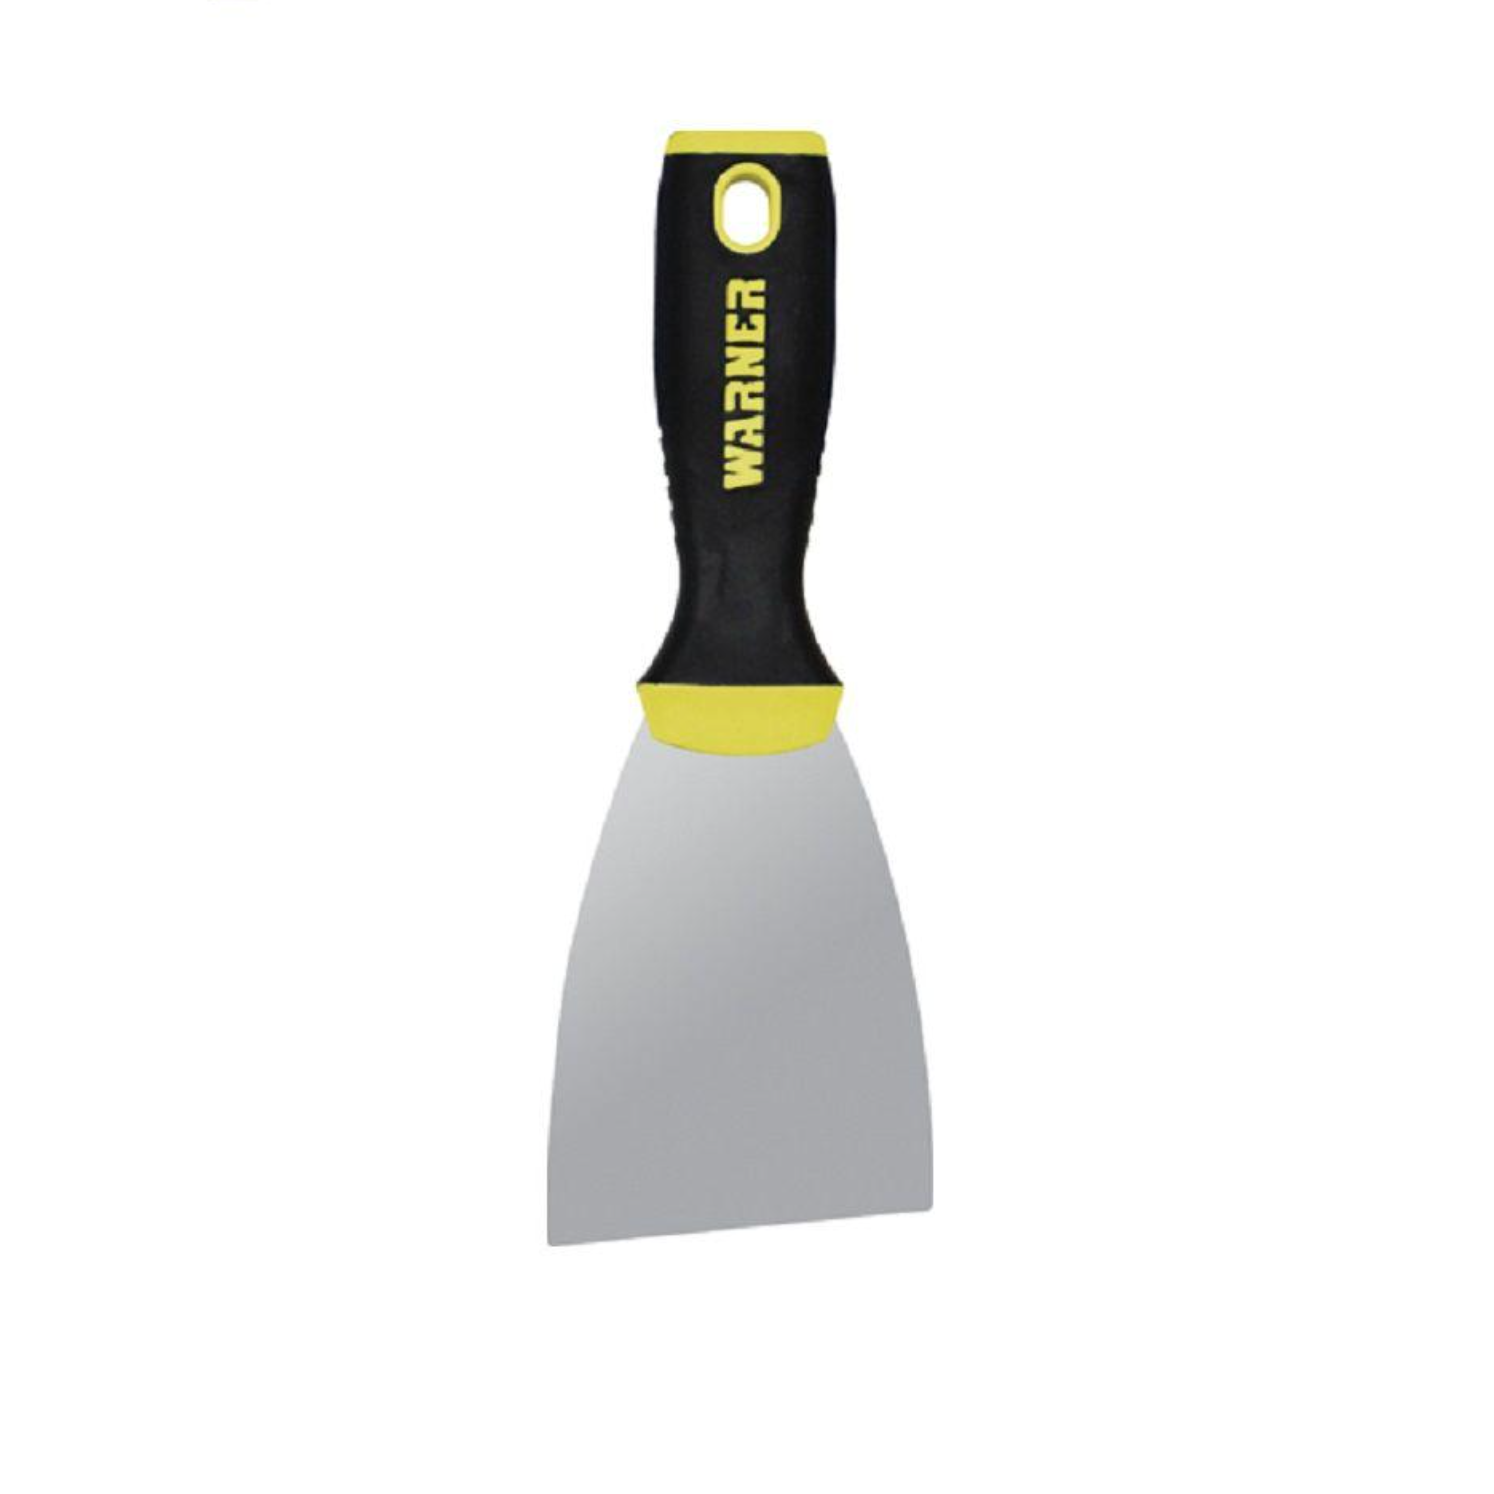
After scoring the paper, I worked in sections spraying wallpaper stripper, waiting a few minutes to let it take effect, then lifting the paper with a putty knife and pulling it off. I previously used this brand of wallpaper stripper in our bedroom and guest room, and overall think it does a good job!
Dealing with more than one layer
Surprise! Under the wallpaper was a second layer of wallpaper that had been lightly painted over. Because of the extra layer of paint, it was hard for the wallpaper stripper to soak in and actually do anything, even after scoring. I decided it was finally time to get a wallpaper steamer (linked below).
The actual wall was the yellow color you’re starting to see peek through. This was the hardest part of the whole project because of how long I needed to steam each panel of painted wallpaper and how difficult it was to remove. Hopefully you won’t have to deal with this yourself, but if you find surprise second wallpaper, you’ll get through it! Just take your time and spread it out over a few days.
Shop Wallpaper Removal Supplies

Wall Paint
It’s true that paint can completely transform a room, and these yellow walls needed a fresh start! We use alkyd paint because the majority of our house was previously painted with oil-based house paint. This probably won’t be the case for you, but I’m linking exactly what I used as well as recommendations for regular interior paint.
Priming + Painting the Walls
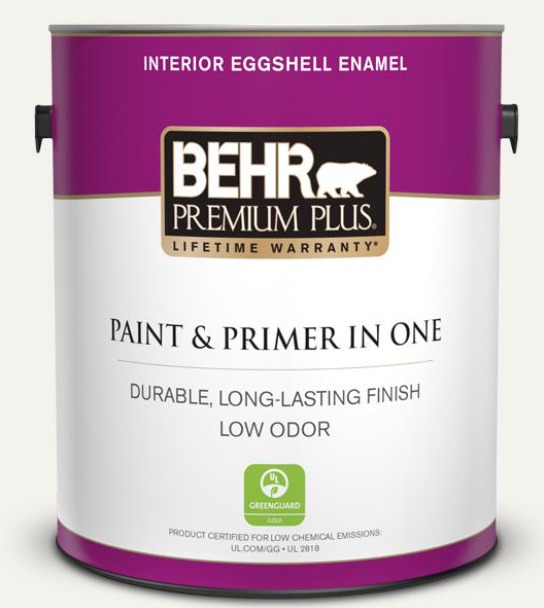
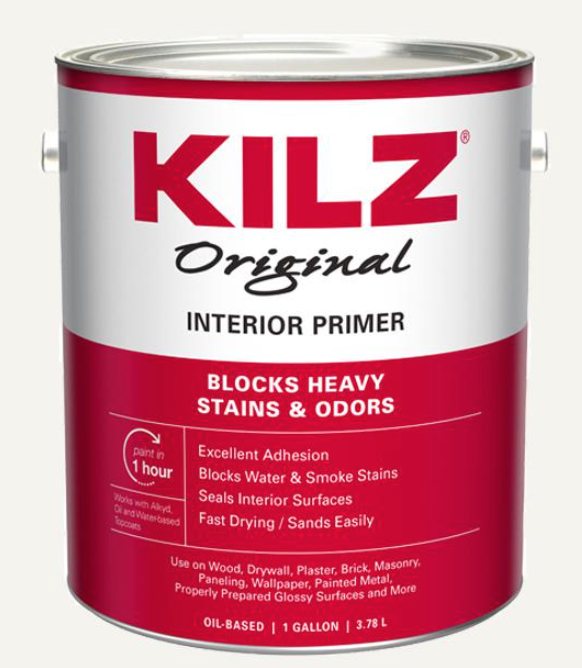
I started with one coat of KILZ primer and let it dry overnight. If you’re using non-oil based paint, skip the primer and use BEHR paint & primer in one! I like to use an angled brush to get the edges first, then I use a roller to fill in the rest of the wall (everything linked below).
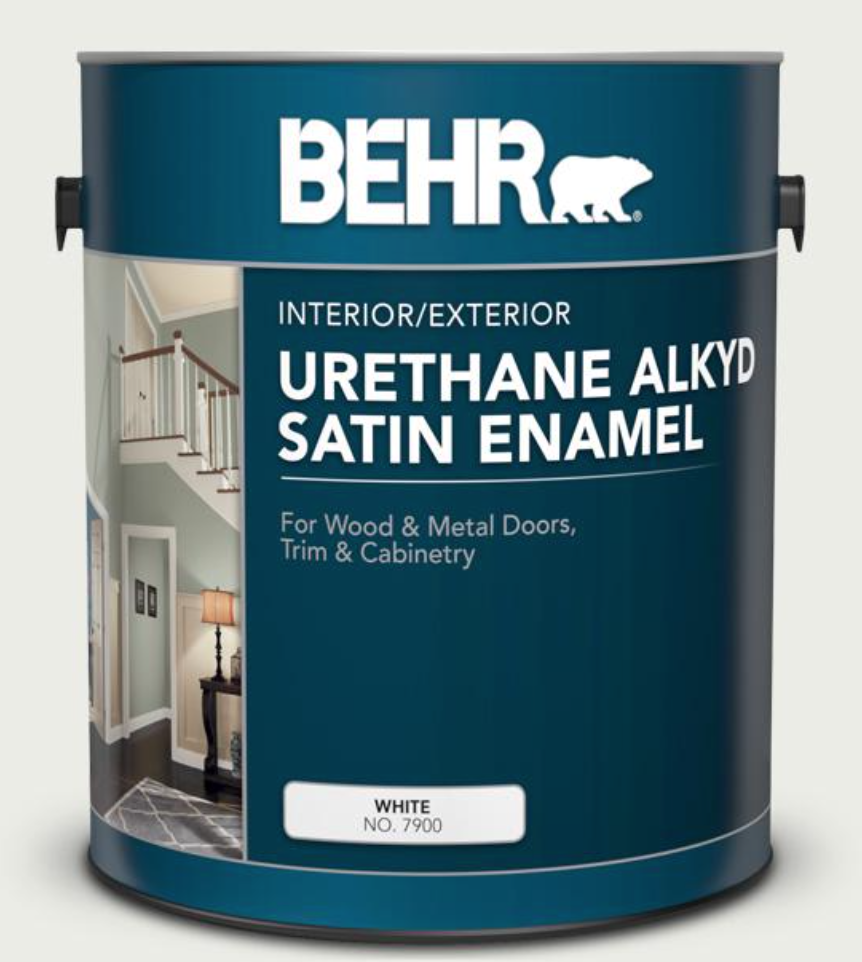
The next day I painted the first coat of BEHR alkyd paint in the same color we’re using throughout our house, Bit of Sugar. Again, I let it dry overnight and added a second coat of paint the following day. I recommend not painting multiple coats in one day, especially during colder months when paint takes longer to dry.
Bench Seats
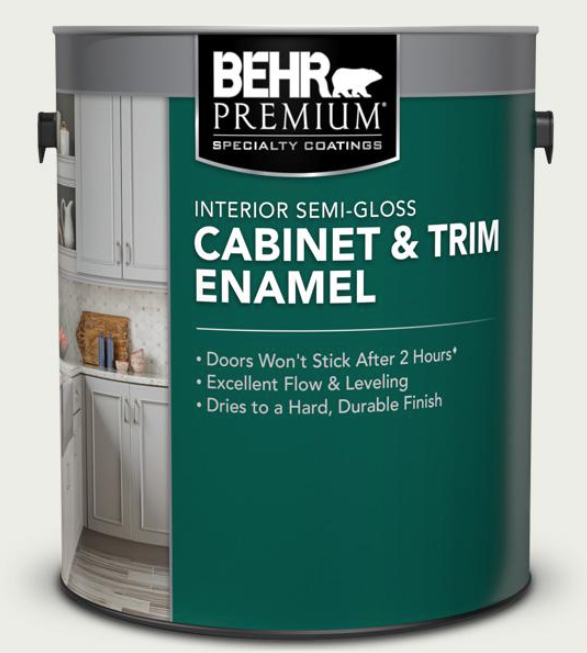
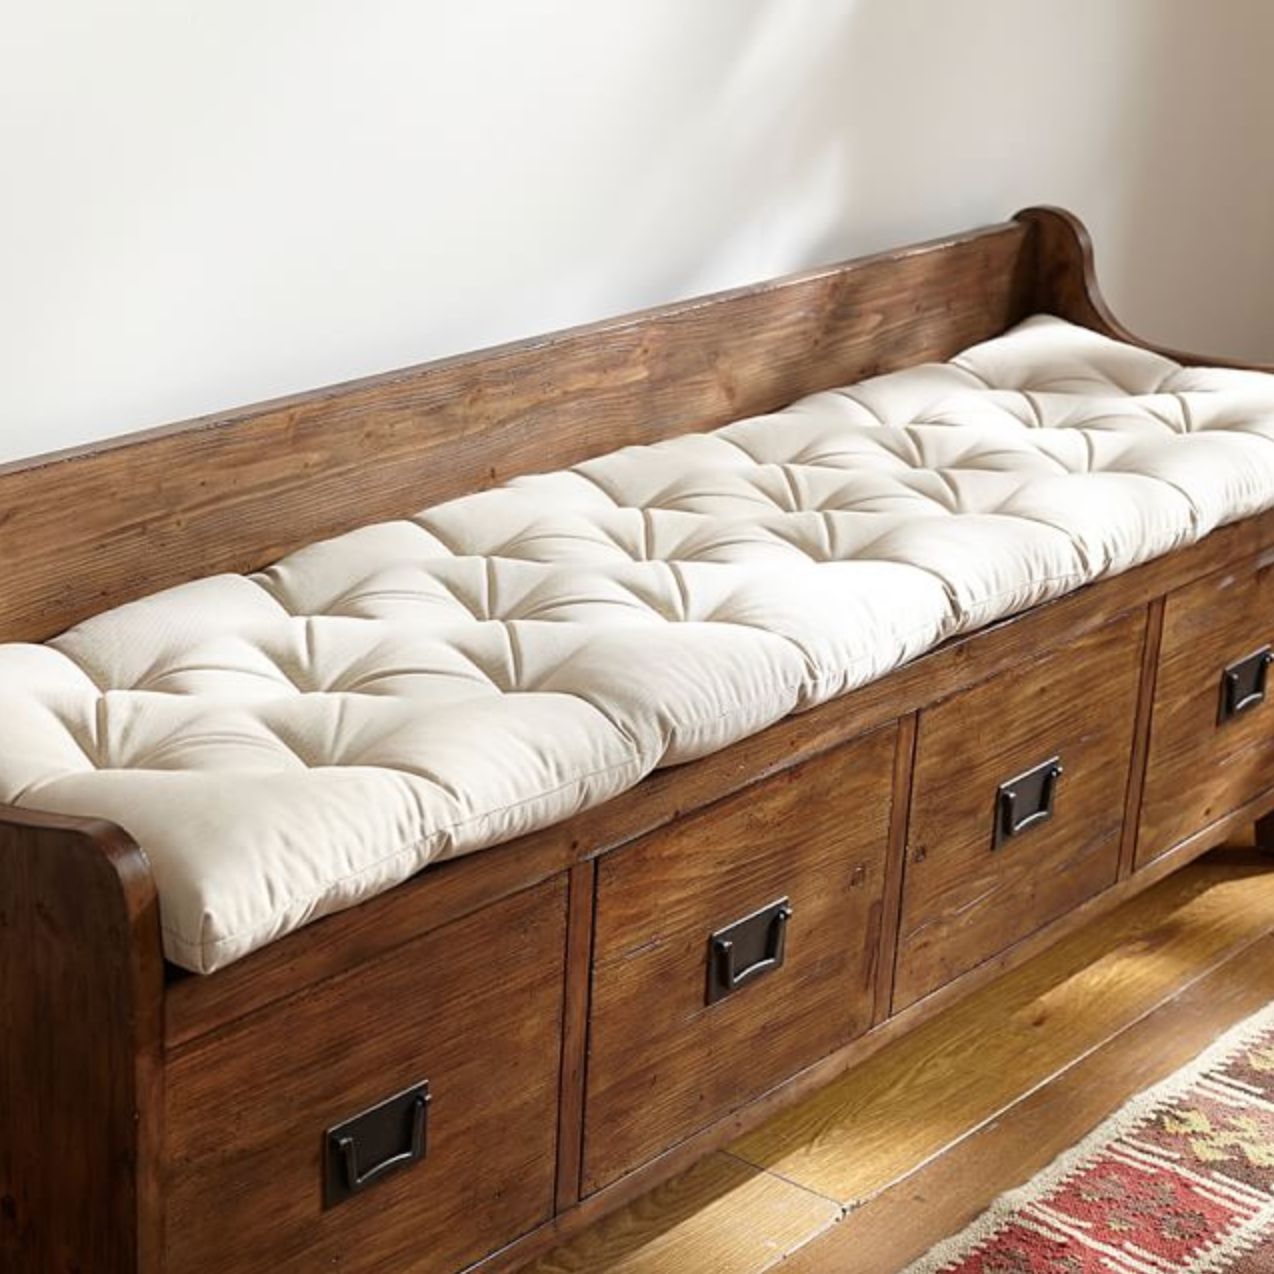
The last step to this phase was painting the benches, which I used some of our kitchen cabinet paint on (linked below). It’s the same color, Bit of Sugar, and has a semi-gloss finish which works well on the wood benches.
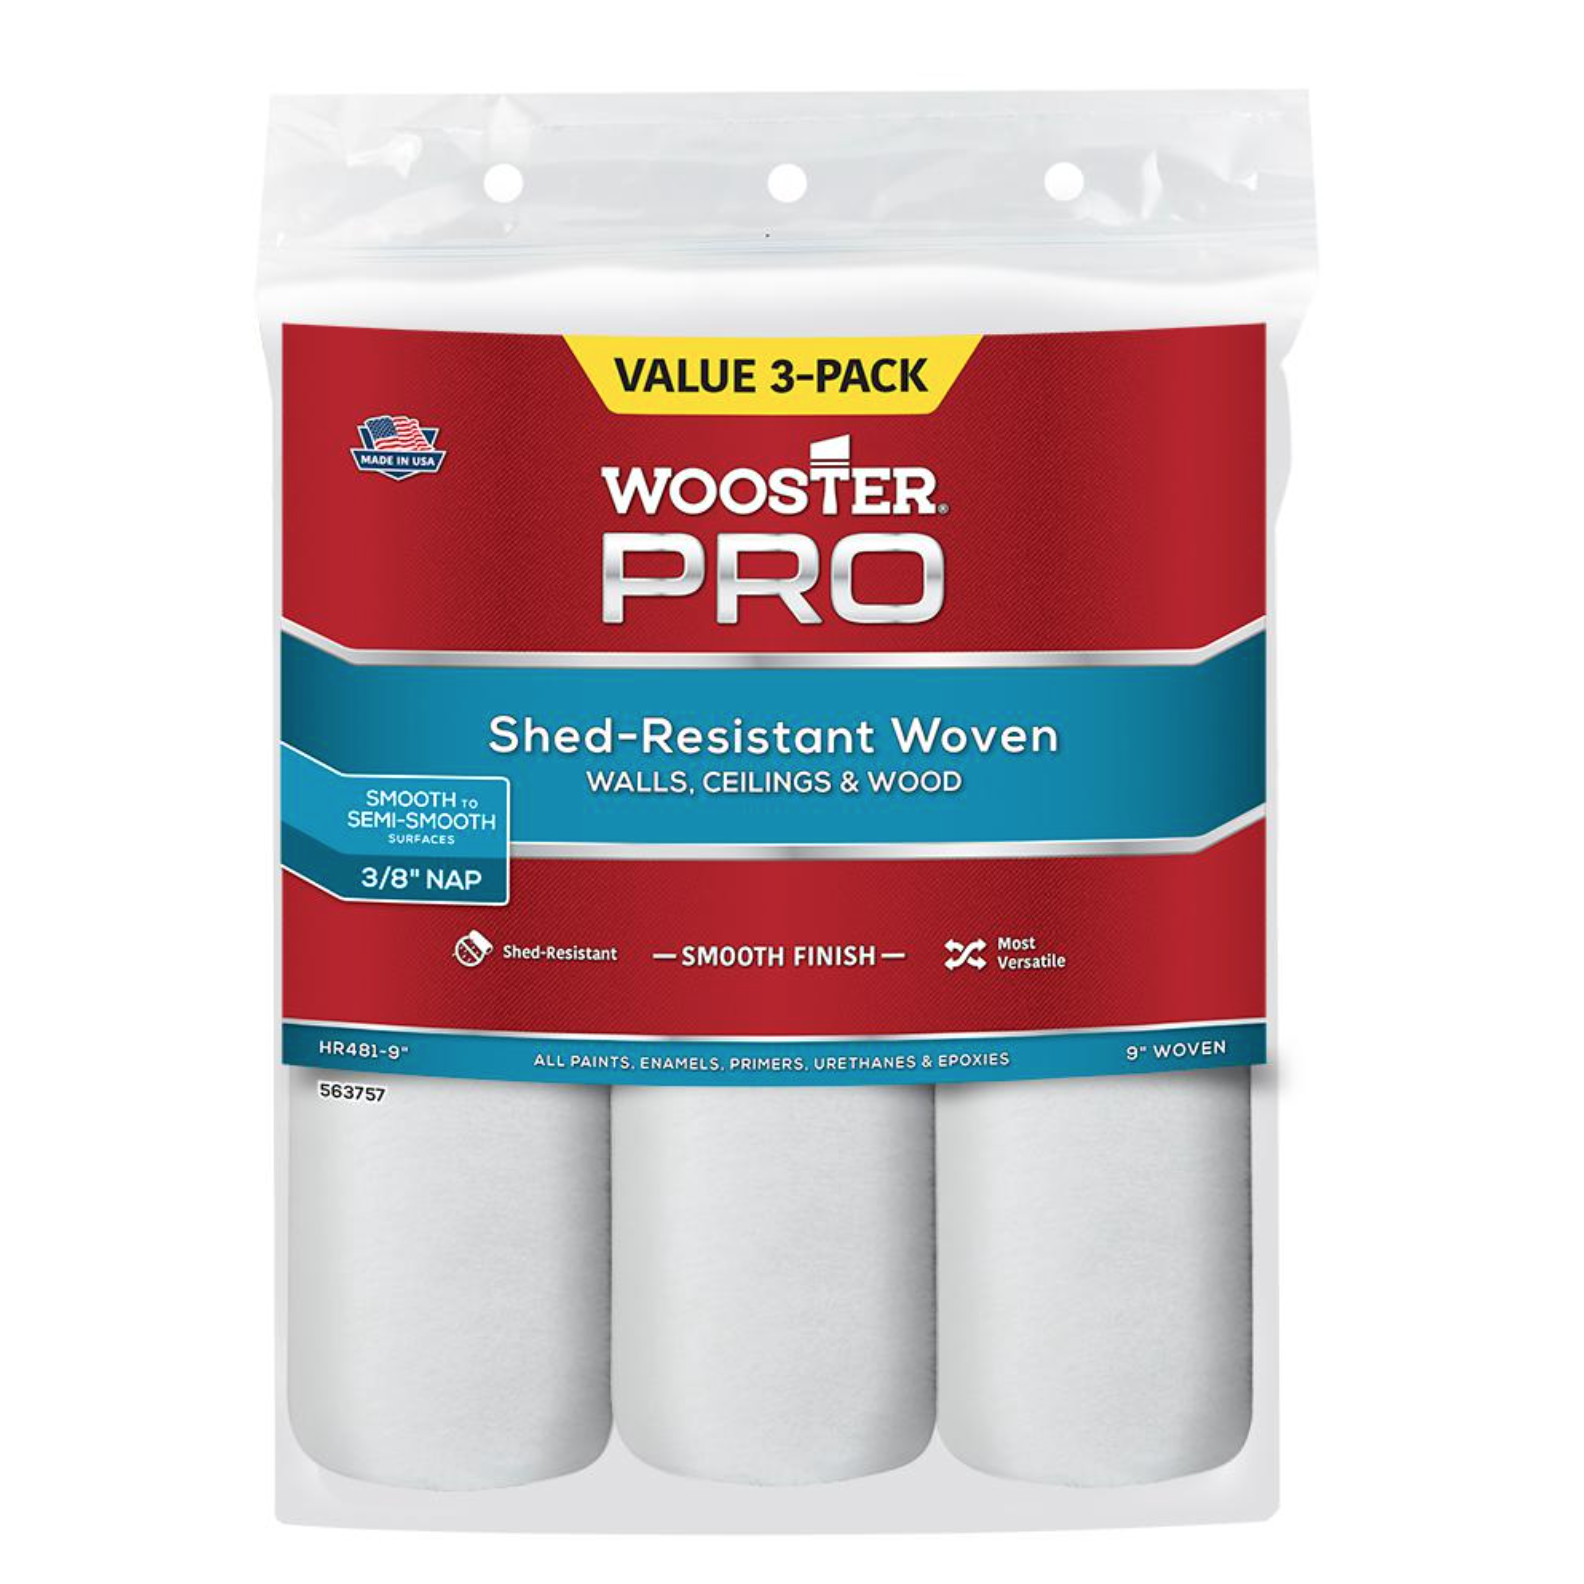
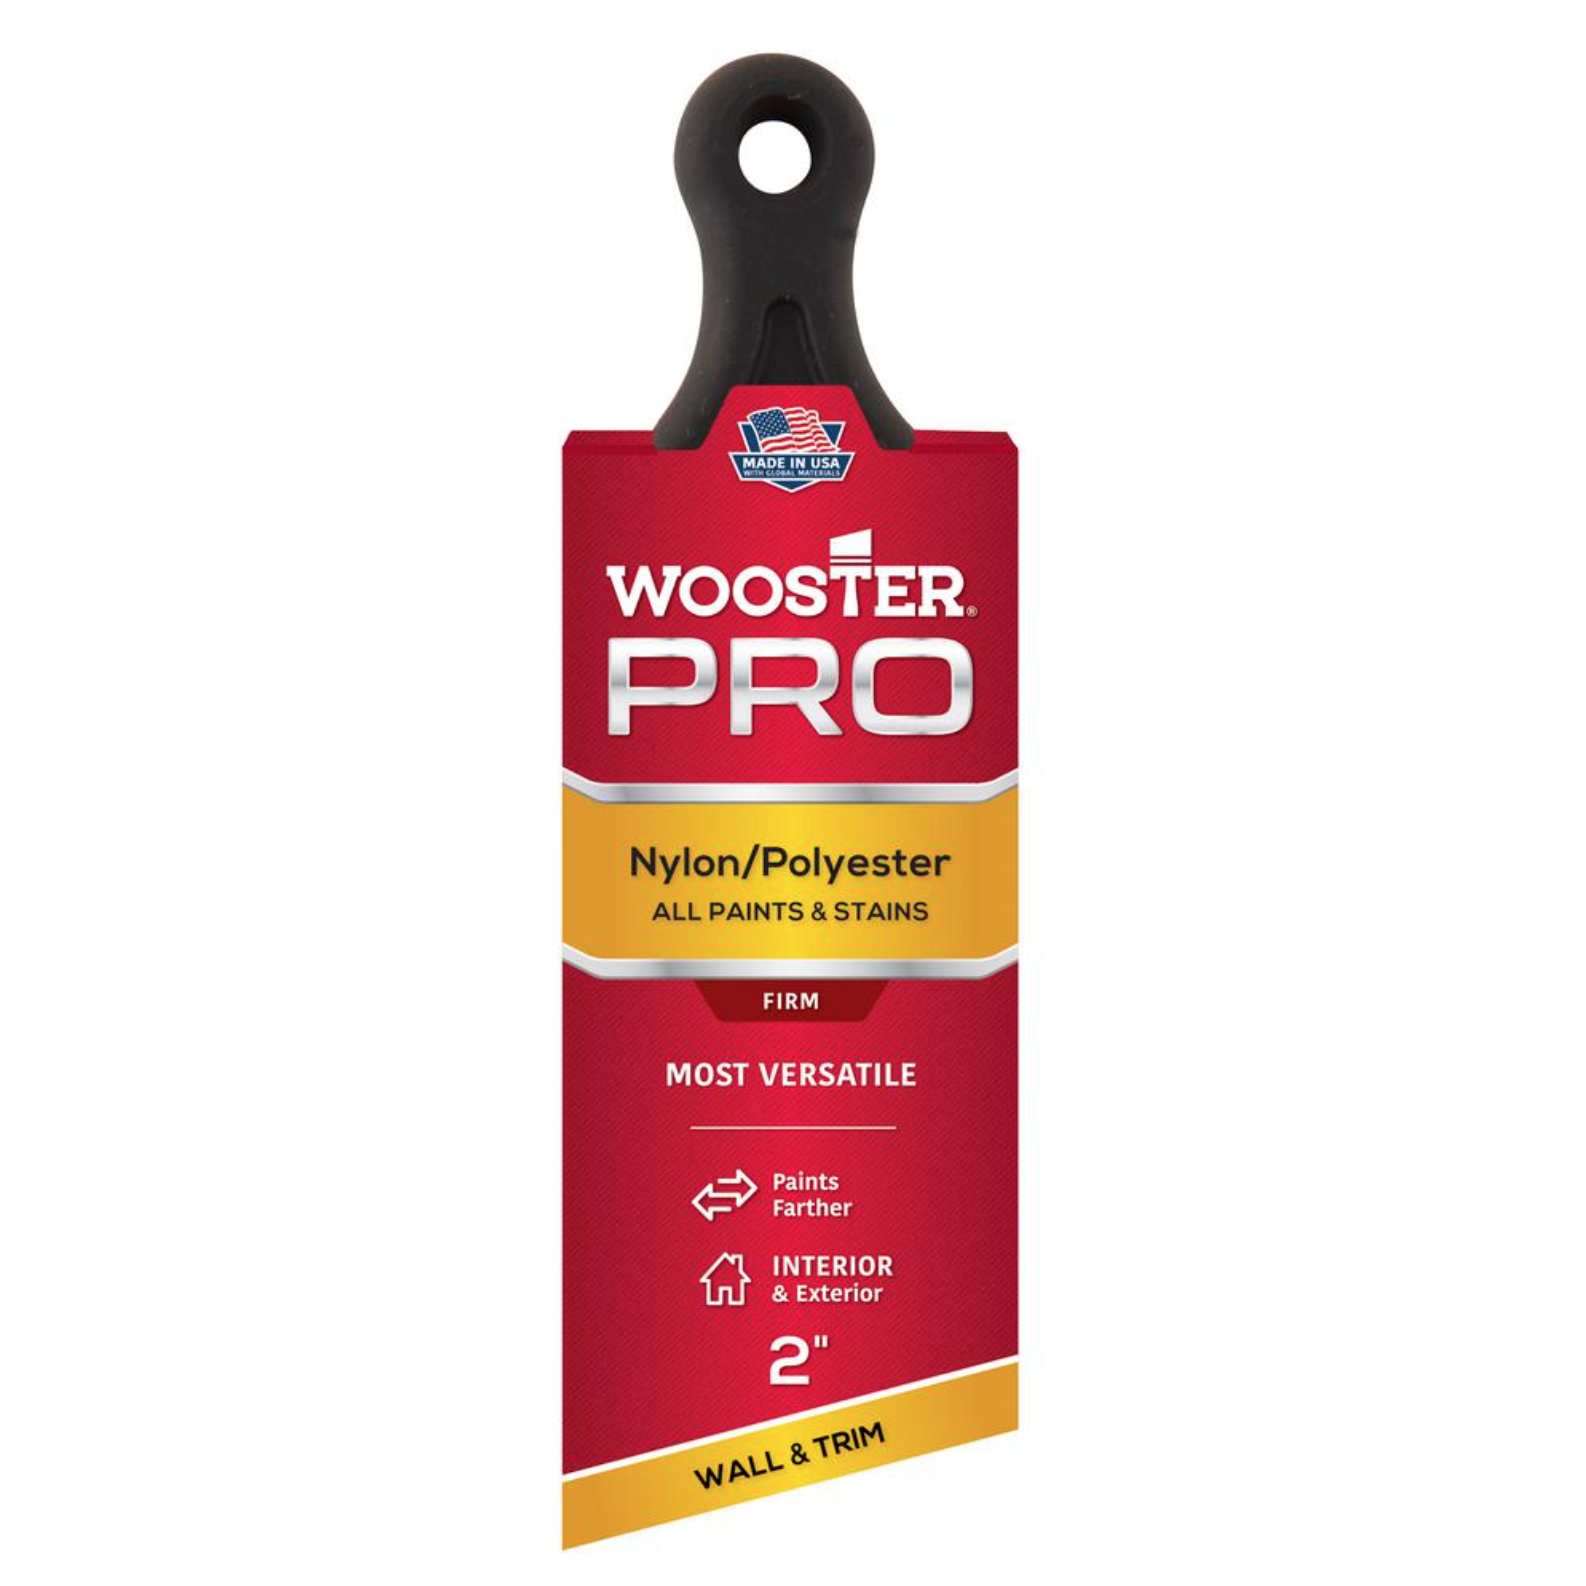
Shop Paint Supplies


Floor Paint
This was my first time ever painting a floor and hands down the most nervous I’ve been to work on a home project. I debated if it was the right call with how beautiful the blue tiles were, but they made the small room look so incredibly dark, and I knew painting them would instantly brighten the space.
Prep Work
The prep before painting a floor goes a little something like this: vacuum, mop, sand, vacuum, mop. It’s time consuming, but it’s necessary if you want a clean surface to work on and a floor that lasts.
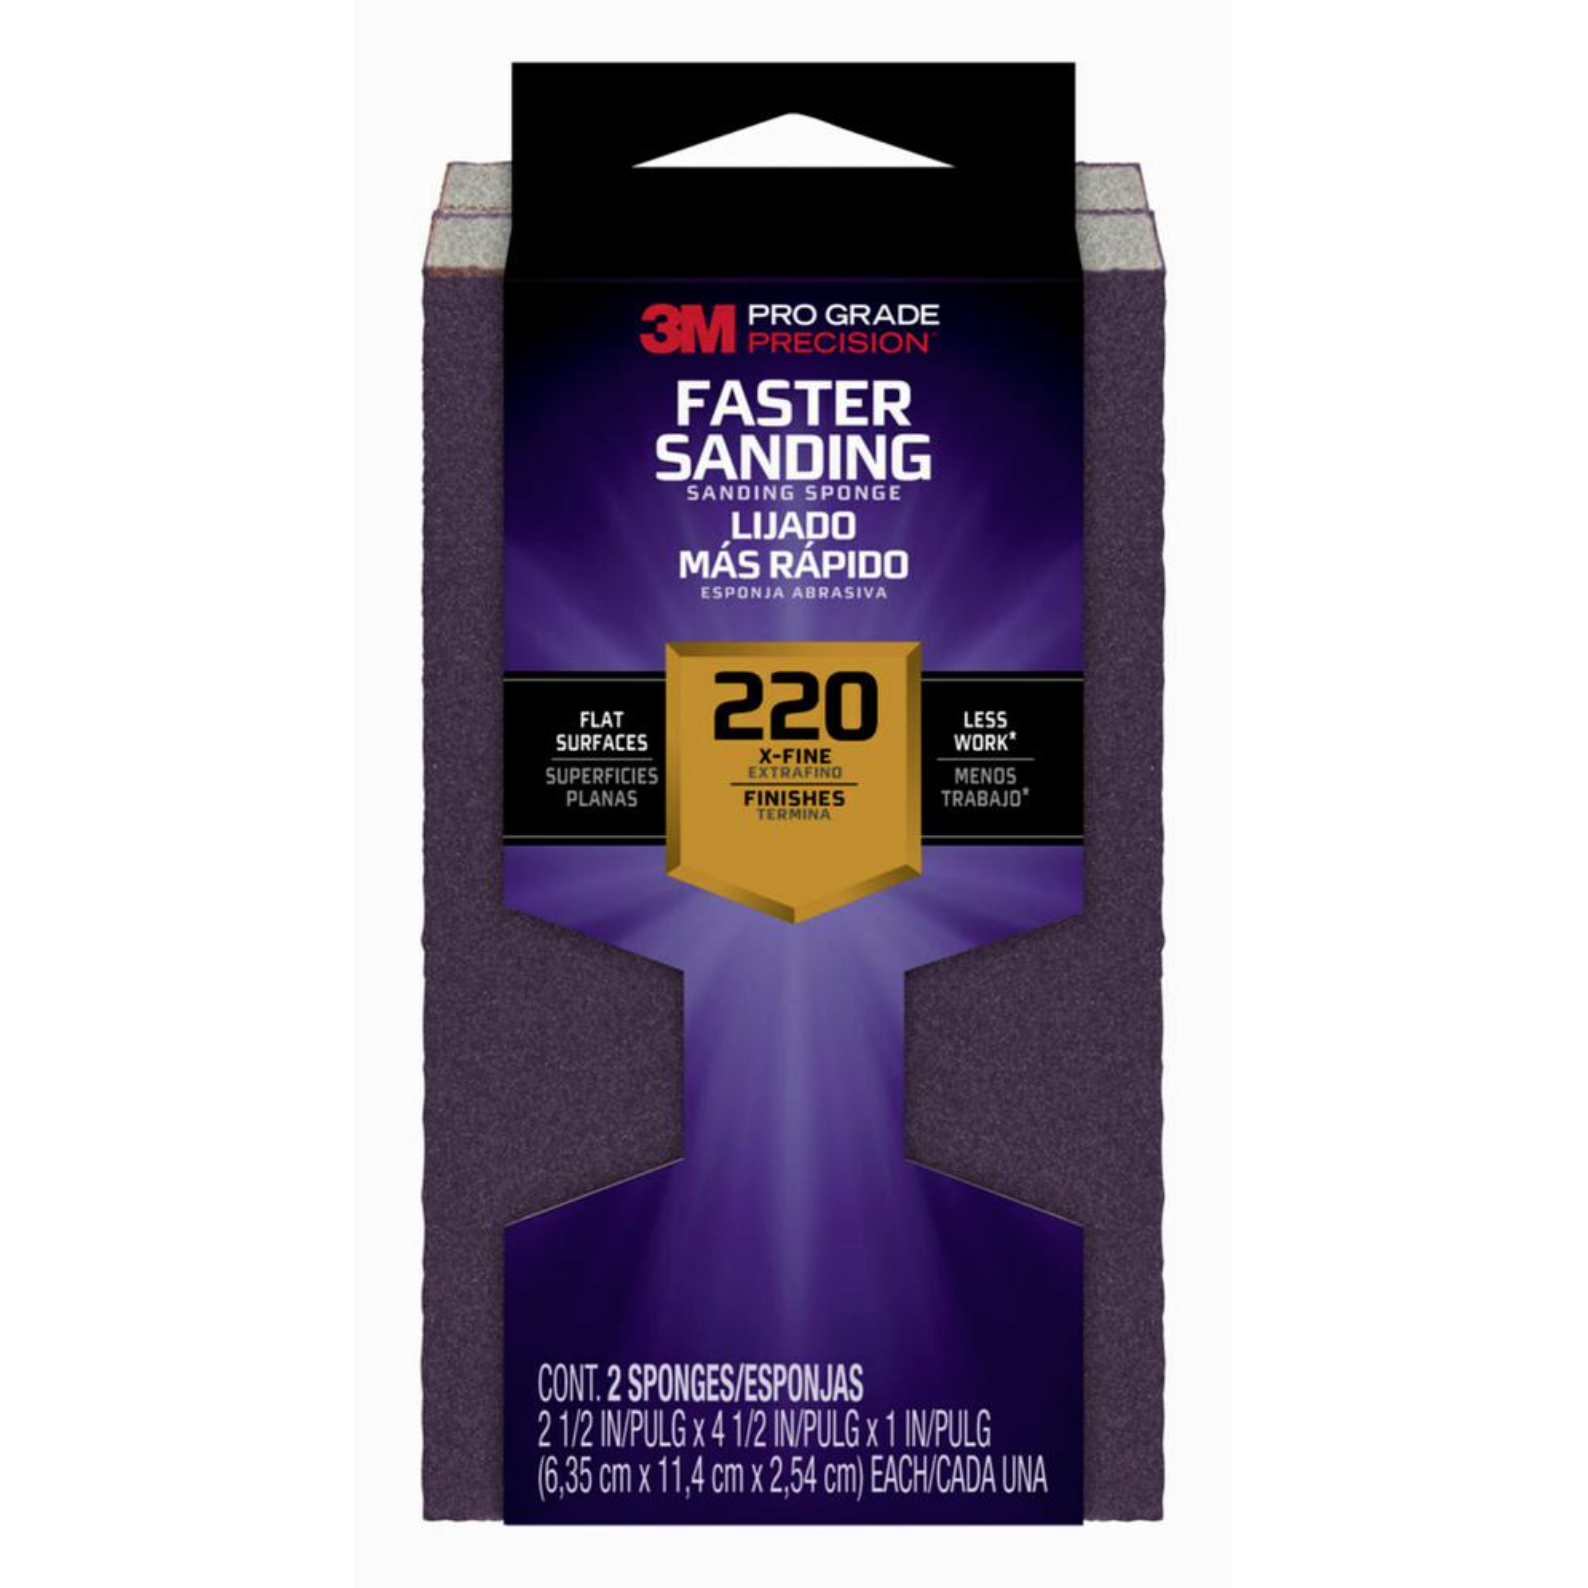
I used a 220 grit sandpaper block and went over every tile to rough up the surface. To clean up, I vacuumed and then used my Bona mop to get every last bit of dust.
Choosing Colors
I wanted the colors to be warm and neutral, tying into the existing terracotta tiles around our house. BEHR just happened to release their new color palette for 2021 around the time I was looking, and their colors Smoky White and Canyon Dusk were perfect for the floor and stars.
Floor Paint
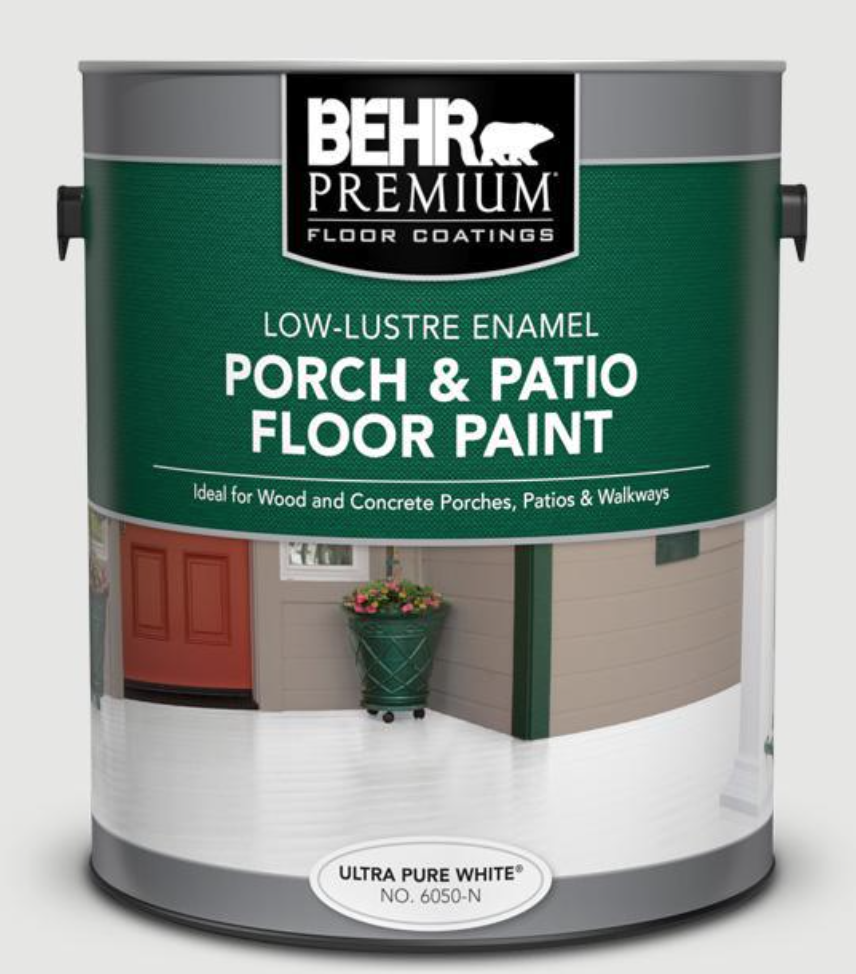
I used BEHR porch and patio paint, which doesn’t need a primer as long as you prep the floor. It’s typically used for concrete and wood floors, but since this area will be stepped on regularly, I figured it was a better option than tile paint meant more for backsplashes. The enamel finish also looks beautiful on tile!
Starting again with my angled brush, I painted around the edges of the floor before switching over to a roller to fill it in. I did two coats of paint in the color Smoky White and gave each coat a full day to dry.
Shop Floor Prep + Paint Supplies


Stencil
The last step of this project was the stencil! I found this one from Cutting Edge Stencils on Etsy (linked below) and knew it was the perfect one. I went with the 8x8 inch size to cover our 4x4 inch tiles, knowing I’d have to adjust the stars at the edges a little to make the pattern work.
How to Stencil
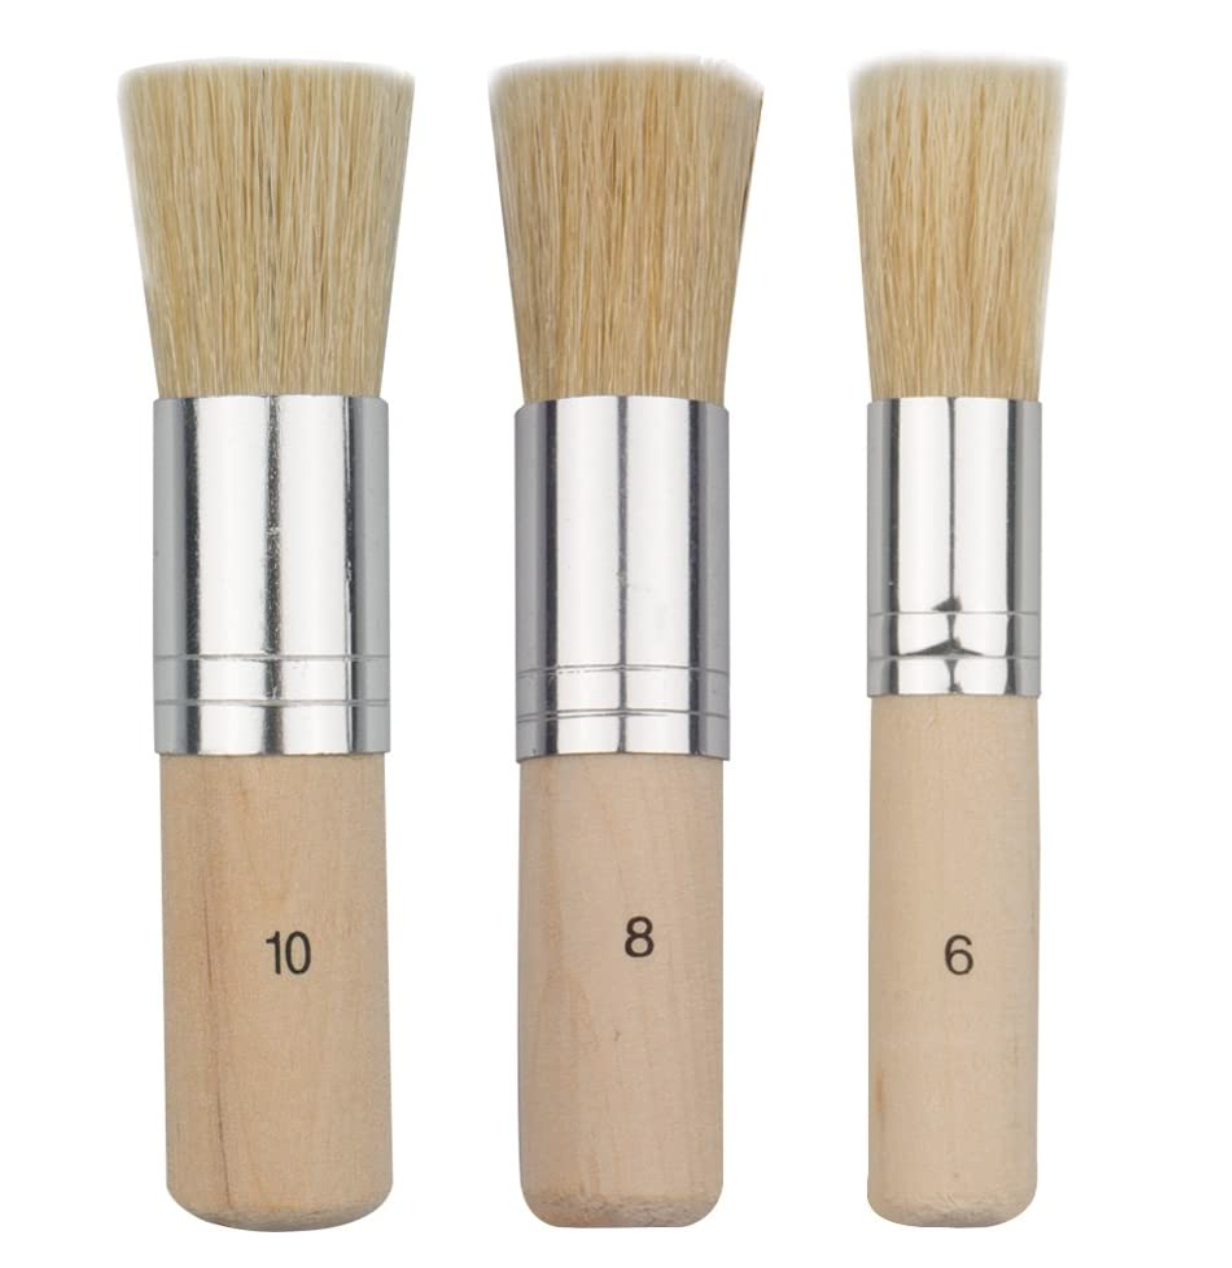
Before starting each stencil, I made sure it was lined up on the tiles and taped the edges to hold it in place. I used the same BEHR porch and patio paint in the color Canyon Dusk and a medium sized stencil brush. You only need a small amount of paint, so I recommend putting some on a paper plate or bowl to work with.
Tap your stencil brush straight down into the paint and then wipe it off on a towel. Then wipe it off again. Then wipe it off again again. No, really. The amount of paint you need is so little, it’s surprising! Having too much paint on your brush will make it pool under the stencil and mess up your clean edges. It’s way better to start with less and build up to the color you want!
Lining Up Your Stencil
I started with stars along the front edge of the floor to make sure my pattern was centered and didn’t get cut off at the ends. To speed things up, I stenciled every other block of tiles so I could move to the next one without having to wait for the previous one to dry. That made a fun diamond pattern I almost kept, but knew the full floor of stars was still the way to go.
Filling In
The next day I repeated the same process, filling in the blank spots. The paint dried incredibly fast, so I wasn’t worried about taping the stencil down or stepping on the floor. With the size and spacing of our floor tiles, the corner stars had to be adjusted from six points to four, but it was more important to keep the big star centered and I still like the way it looks!
Finishing the Edges
The edges were a little trickier, so I bought a second stencil to complete this part. I tried to bend it into the corners, but cutting it was ultimately the best way to go. Unfortunately I got zero photos of this part, but hopefully explaining it still helps!
First I cut the stencil in half to complete the majority of the edges. Then I cut one of the halves in half again (a quarter of the full stencil) and used that piece for the corners of the floor. I used the half stencil piece to do the toe kick along the back wall and complete the star pattern all the way.
Stencil Care
Every ten or so stars, I’d wash the stencil with dish soap and a sponge and let it air dry. You’ll notice paint building up on your stencil with each one you do, and enough built up paint will start to distort the shape. It’s easier to clean off wet paint, but if the paint on your stencil is dry, soak it in soapy water for a bit and it’ll help loosen the dry paint. Just be careful when you’re scrubbing the thinner lines on the stencil not to bend them!
This type of floor paint doesn’t need a sealant, so once I finished stenciling, the floor was done!!! I waited two days to really make sure it was dry, then we moved the table into the breakfast nook and got to work on the rest of our kitchen floor.
Shop Stencil Supplies

The Reveal
Decorating this space was so incredibly fun after all the hard work that went into it! I shared a reveal post already, but here it is again, including links to buy everything for your own space!


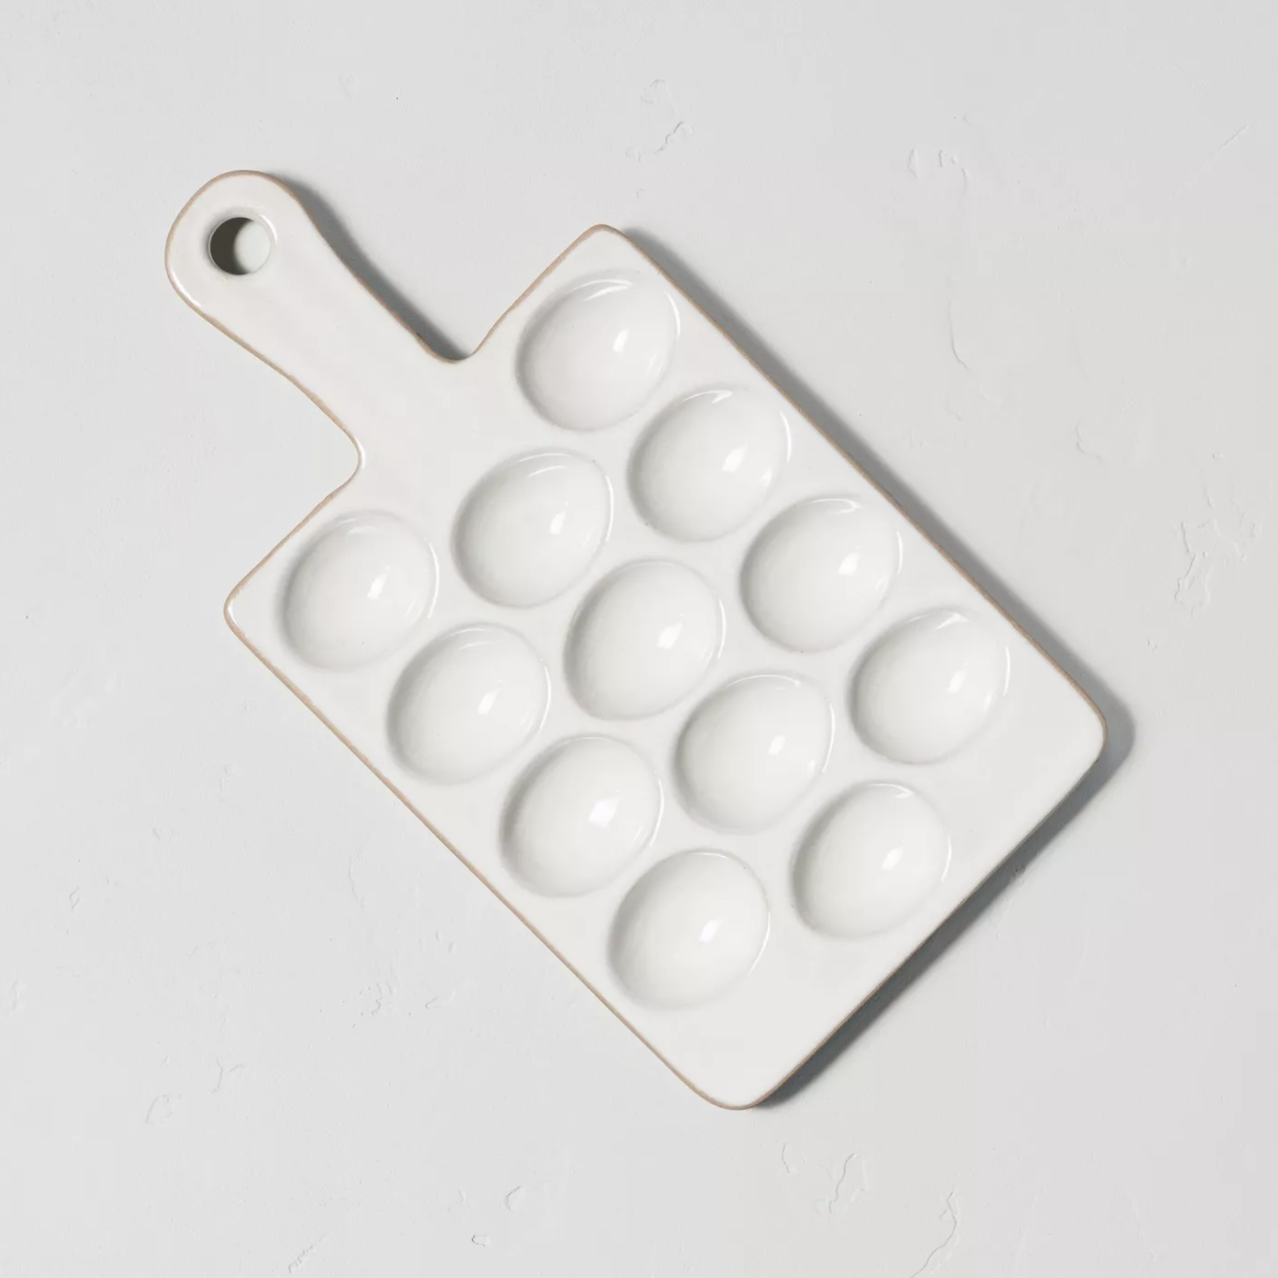
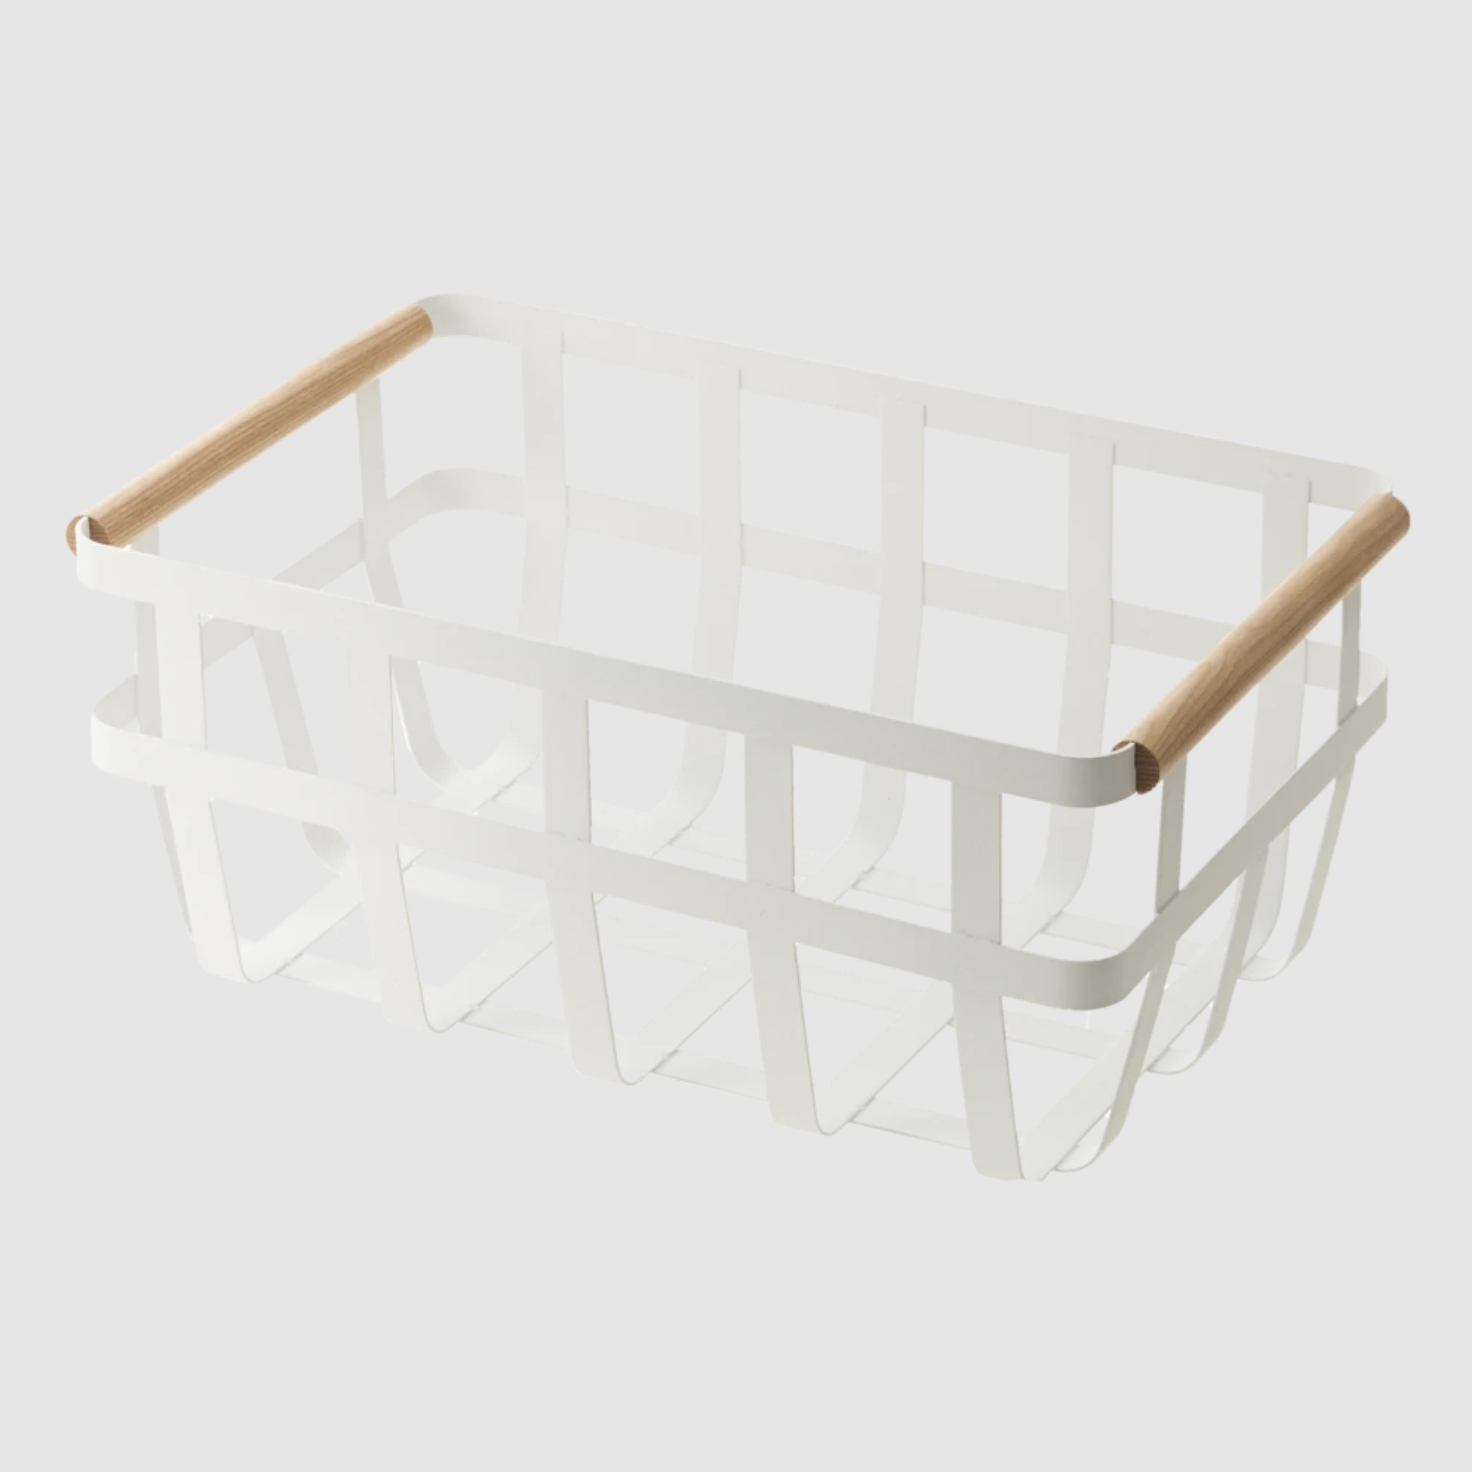
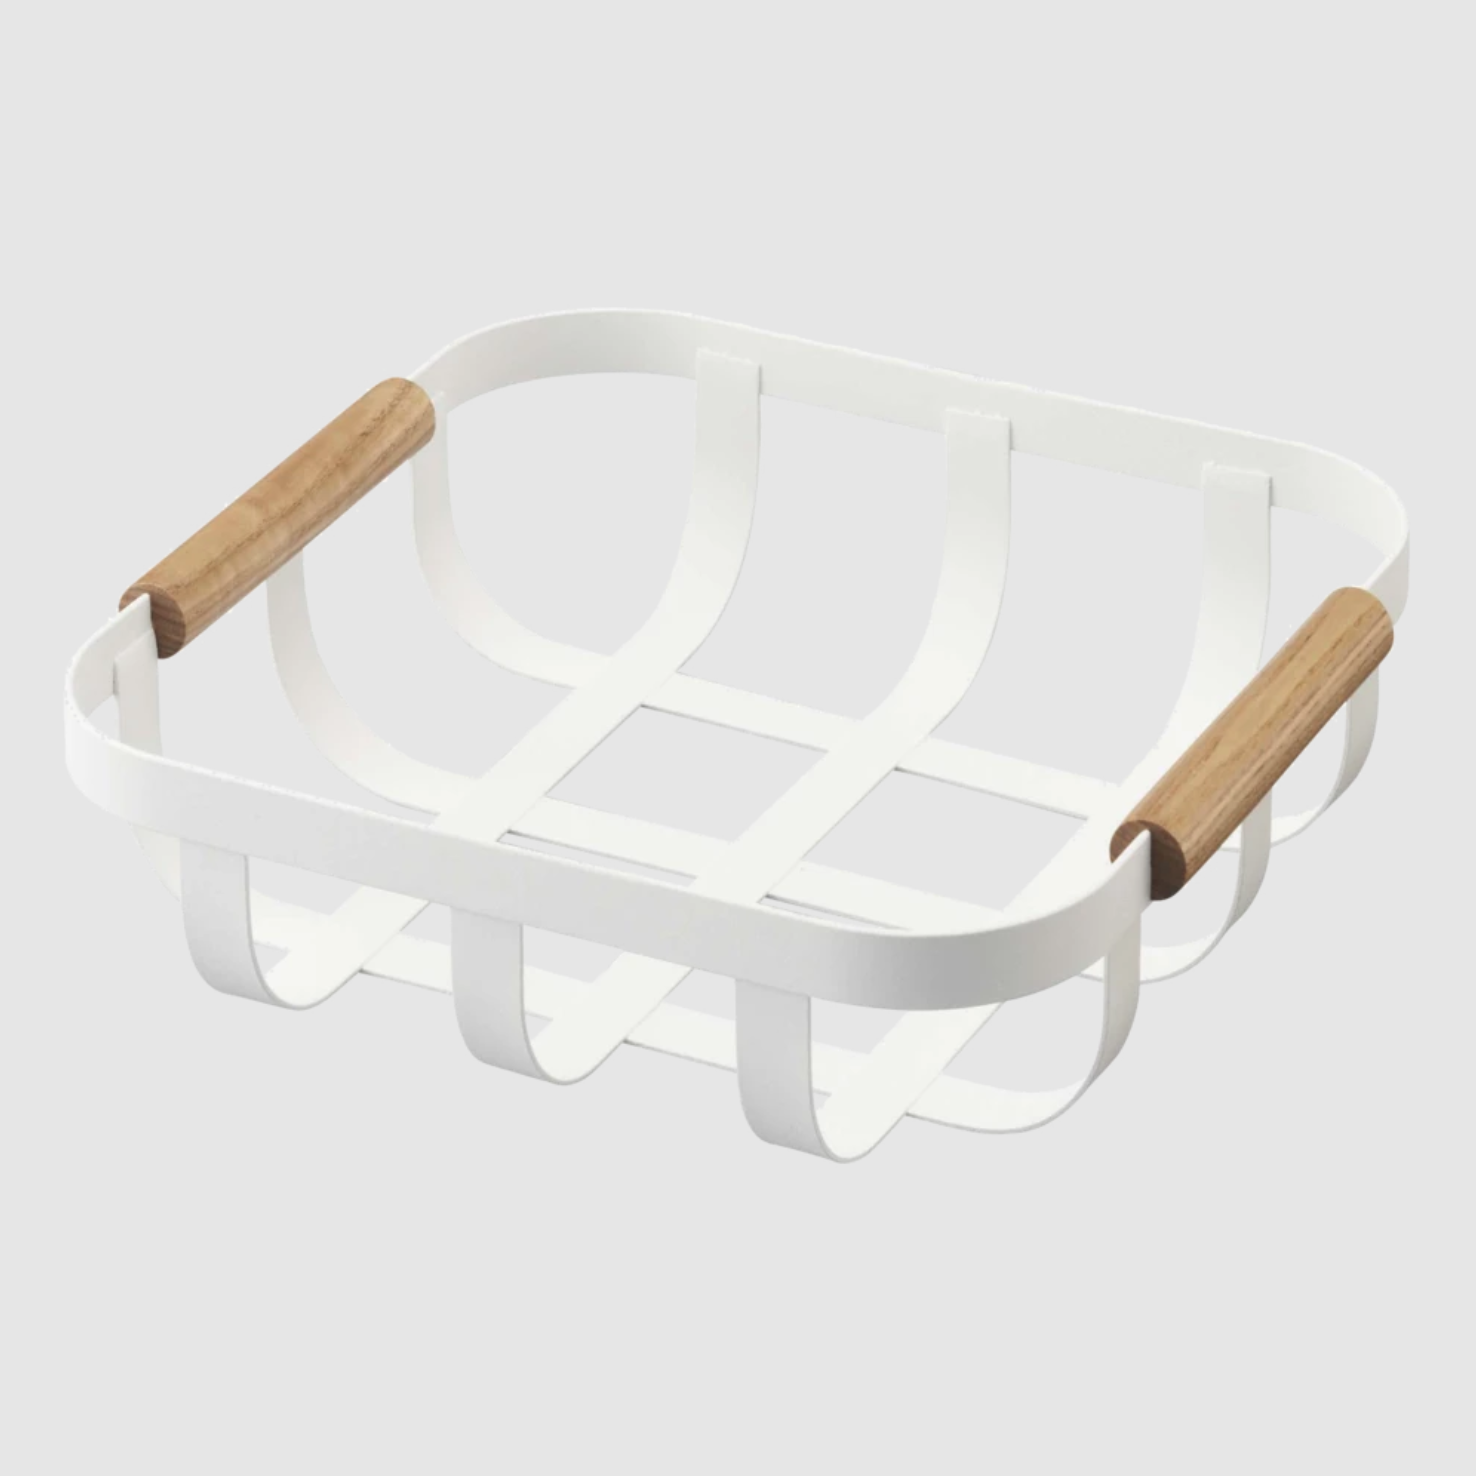
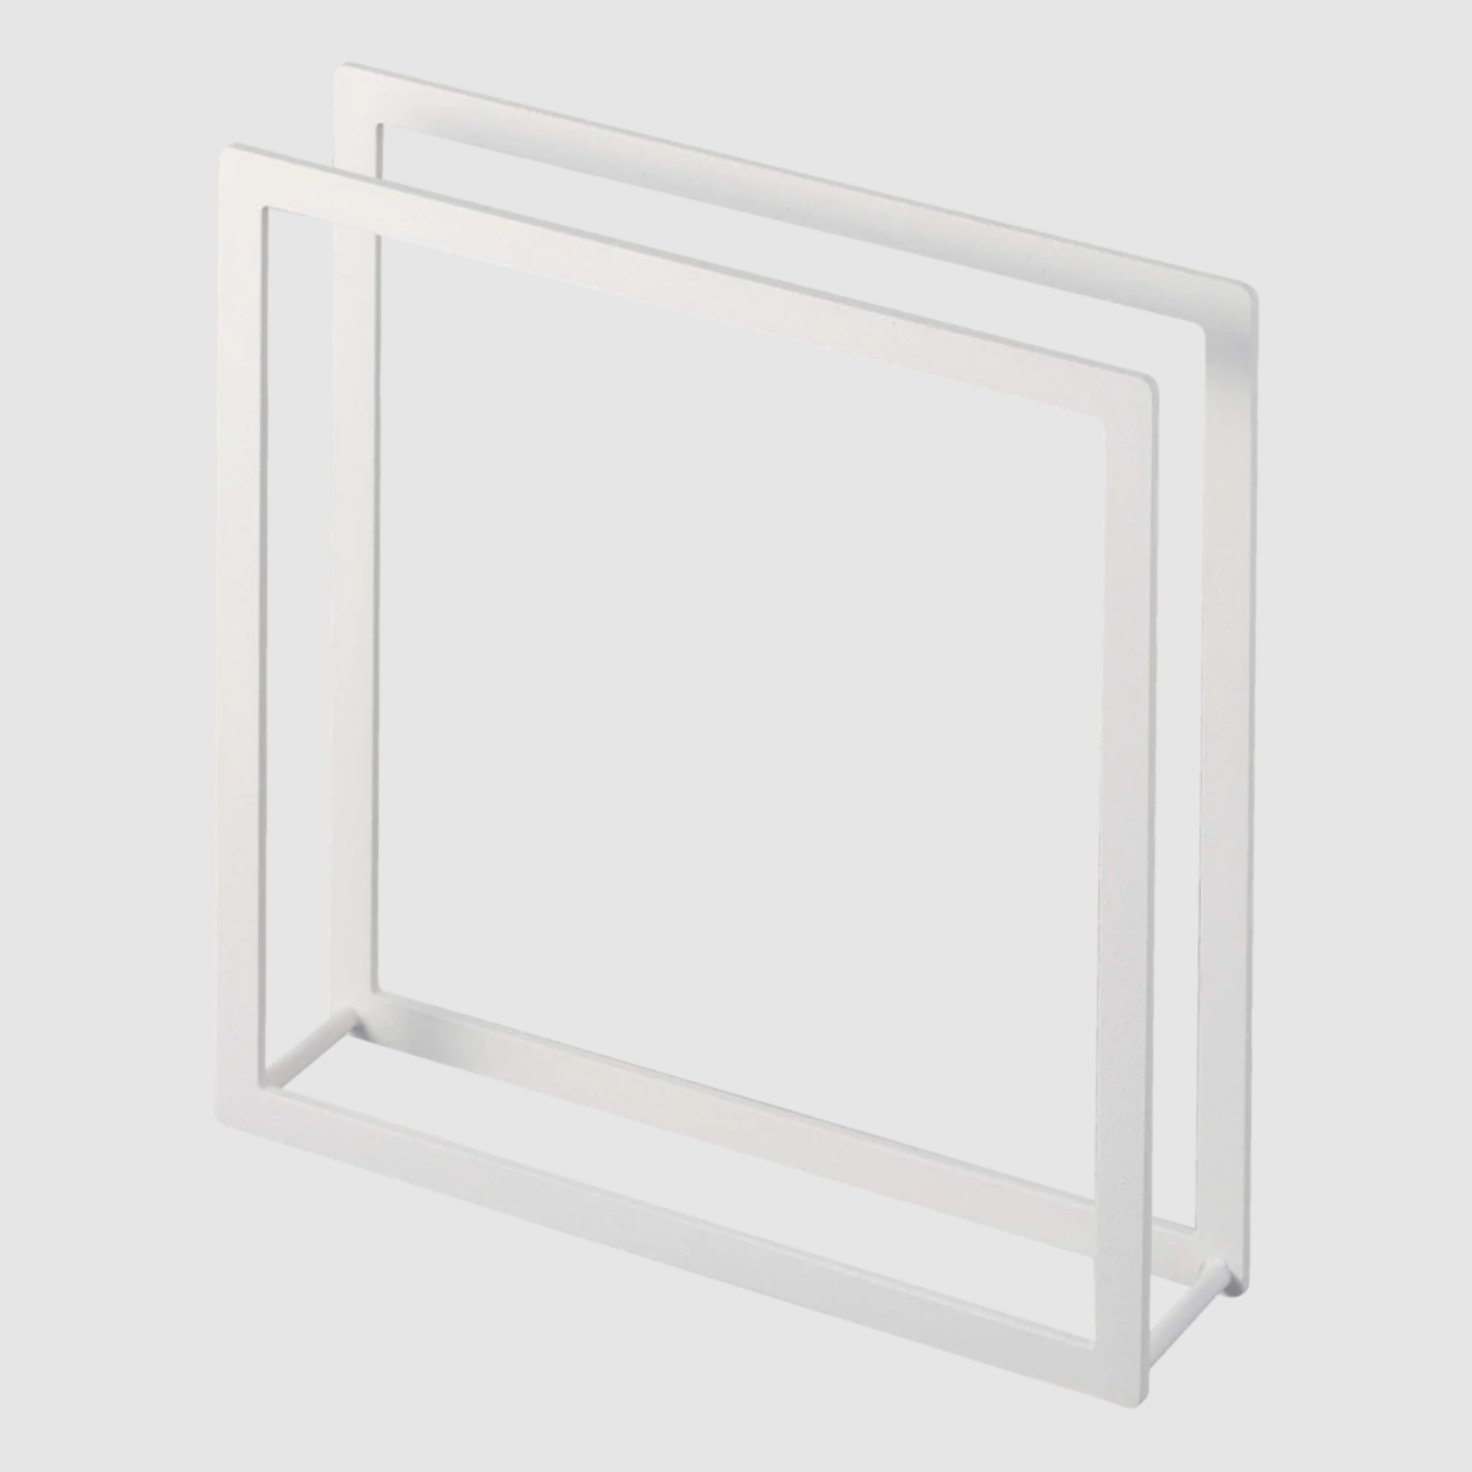
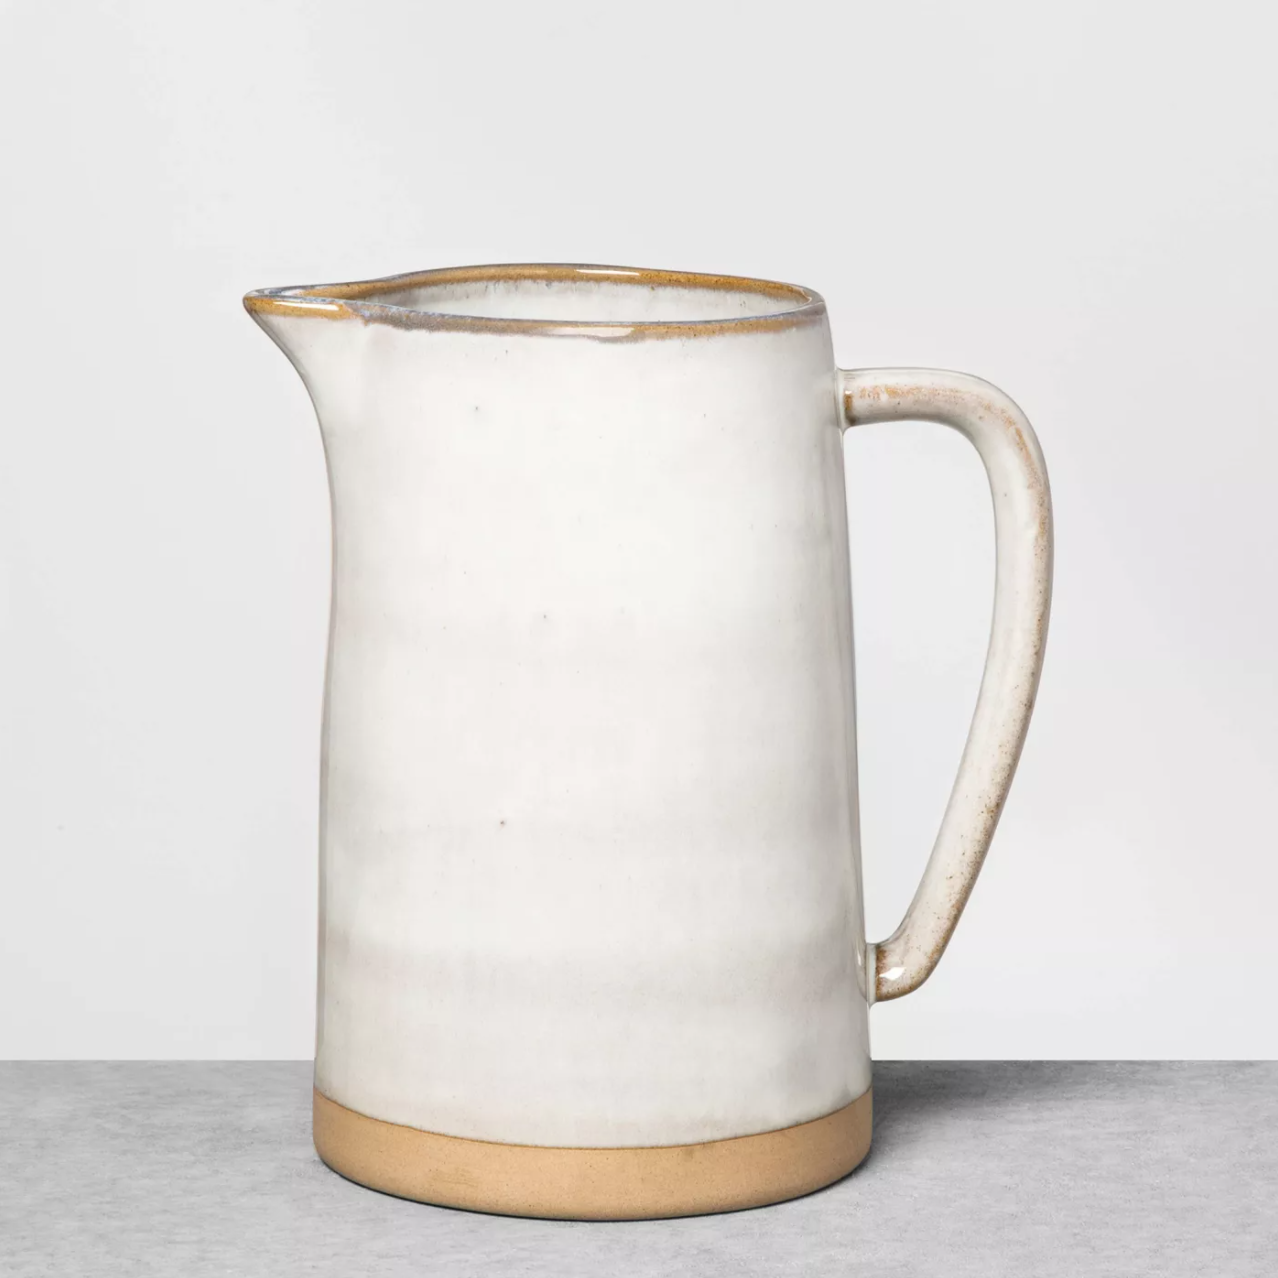
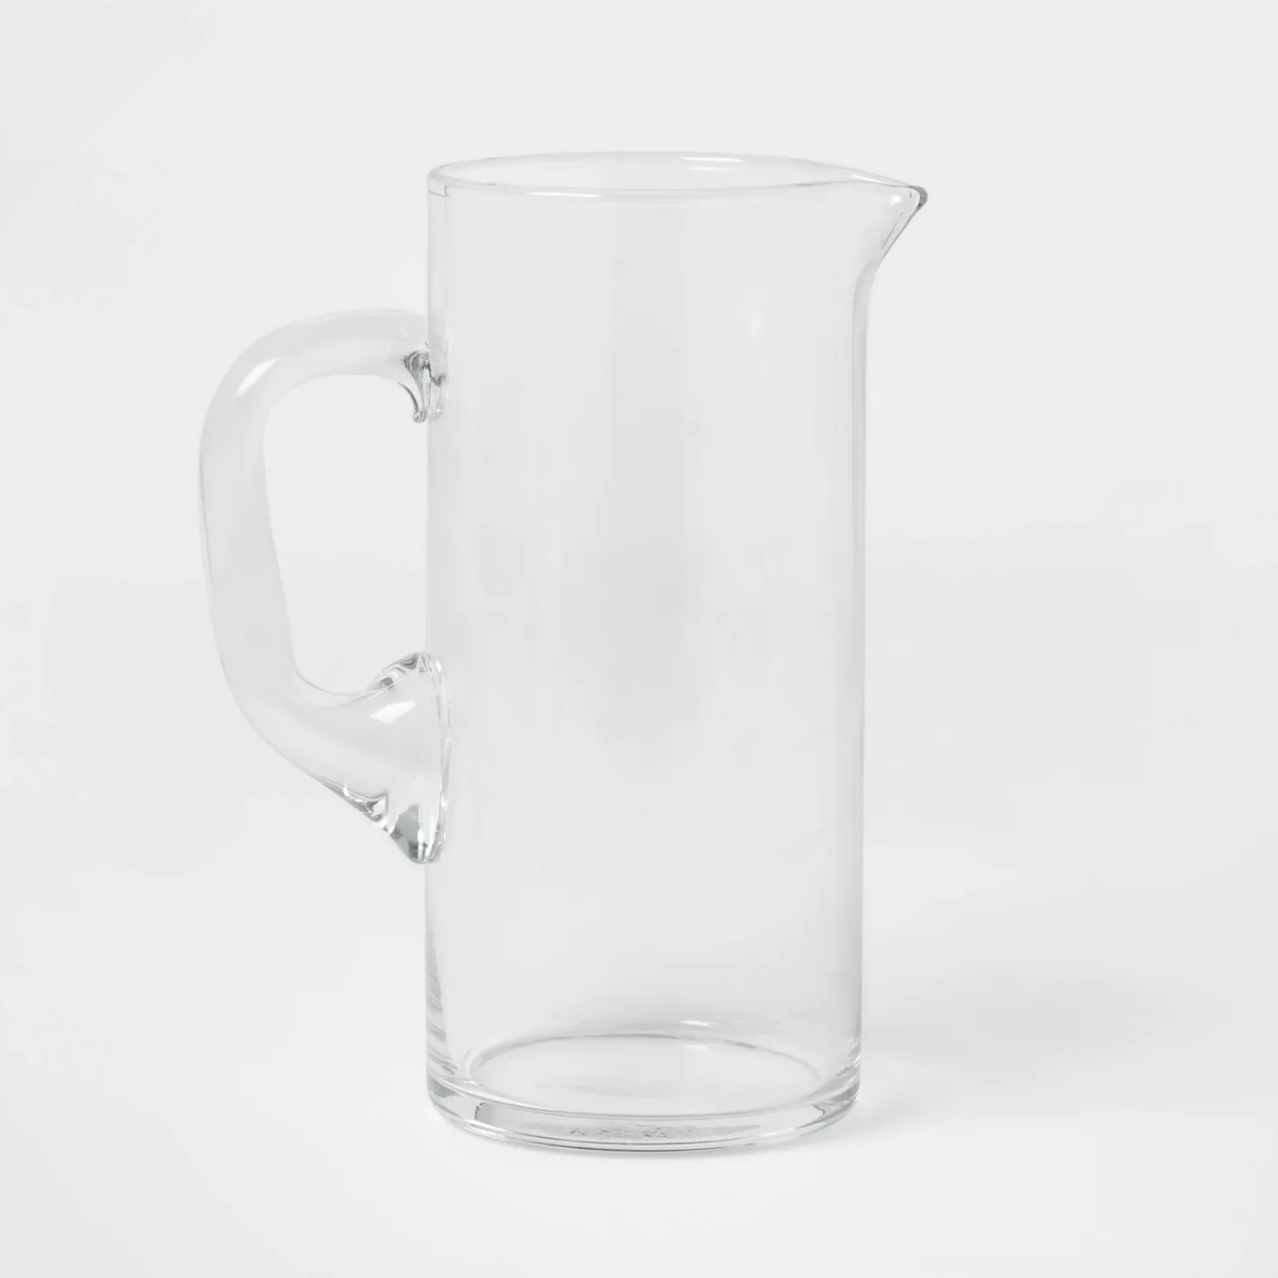
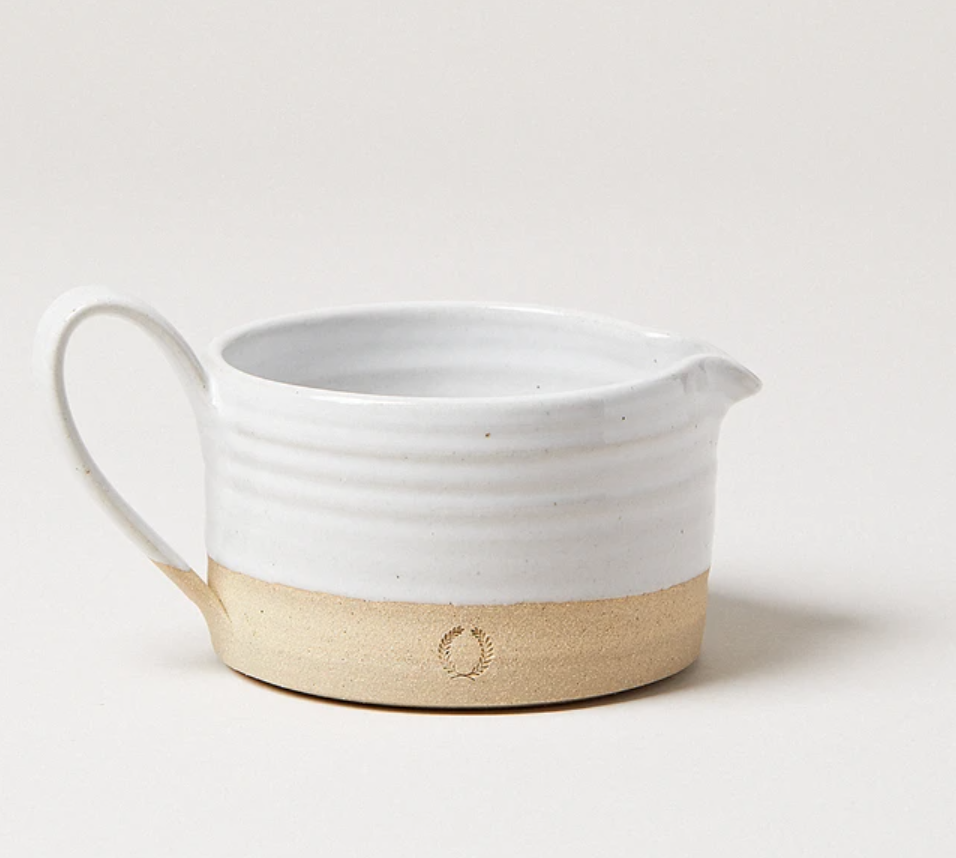
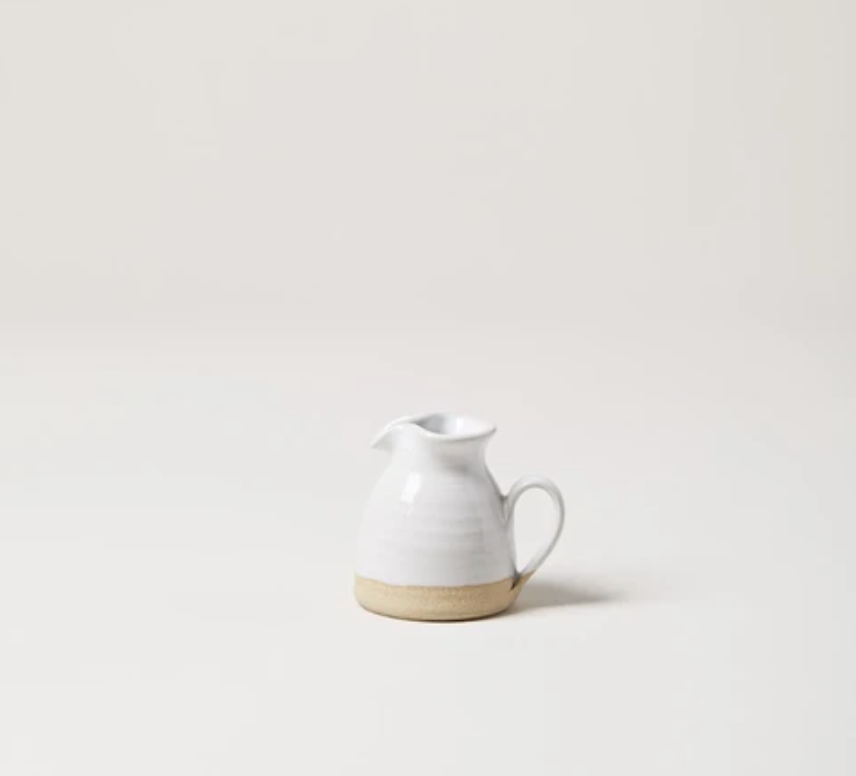
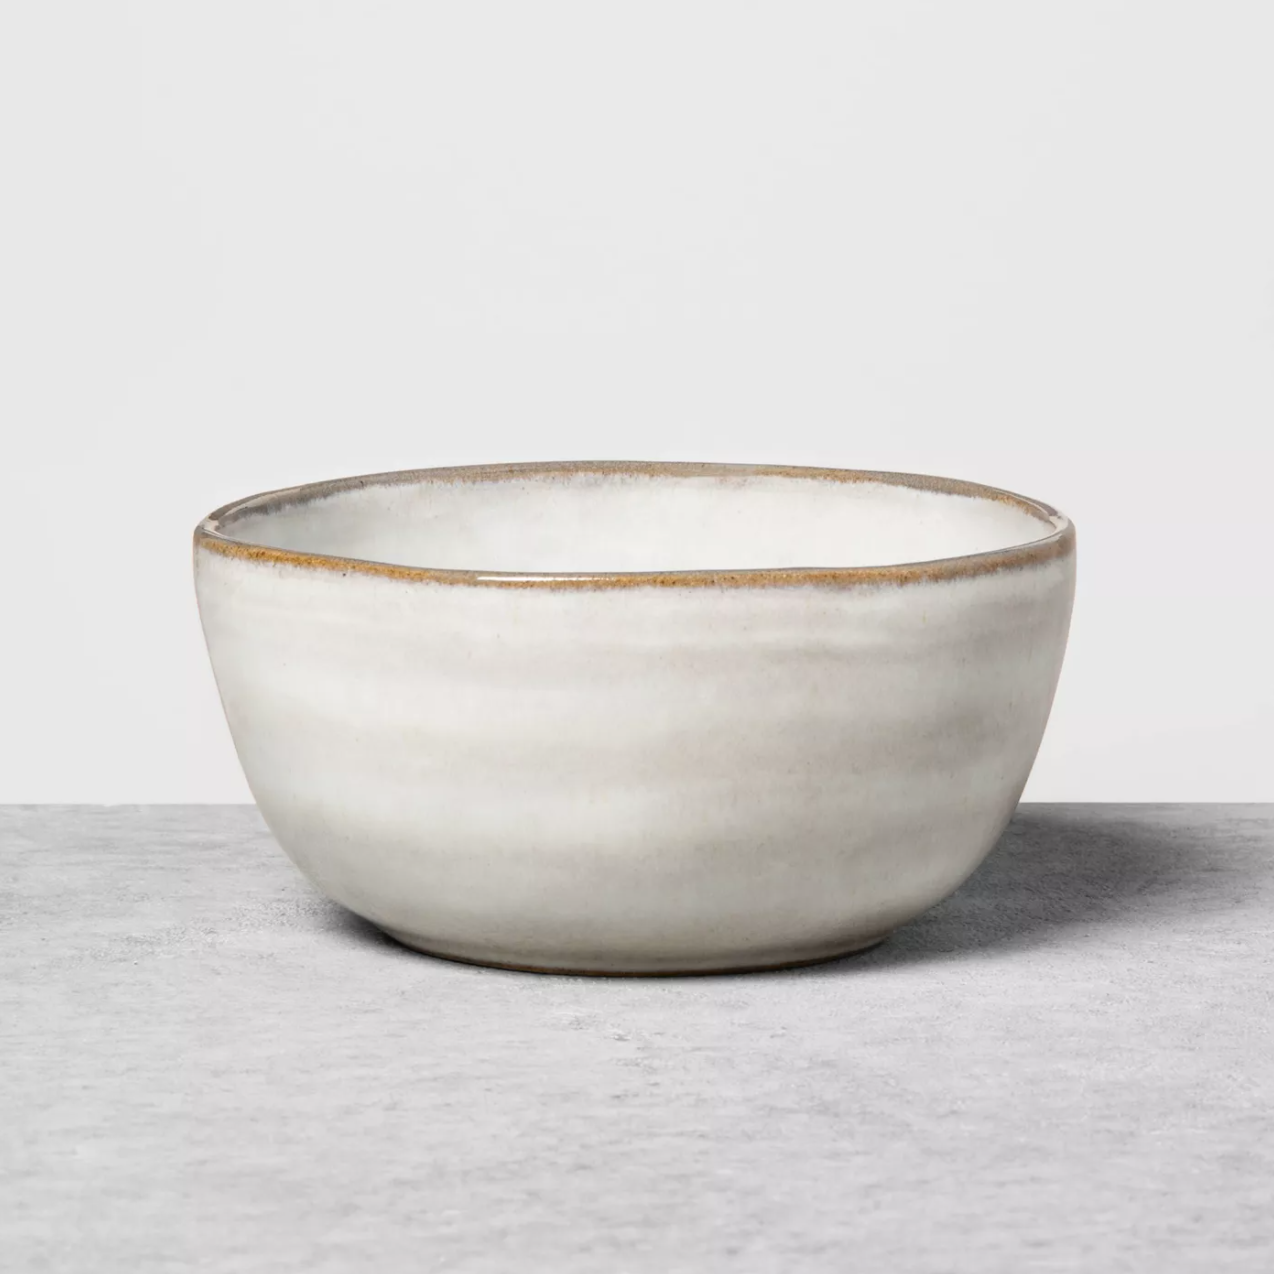
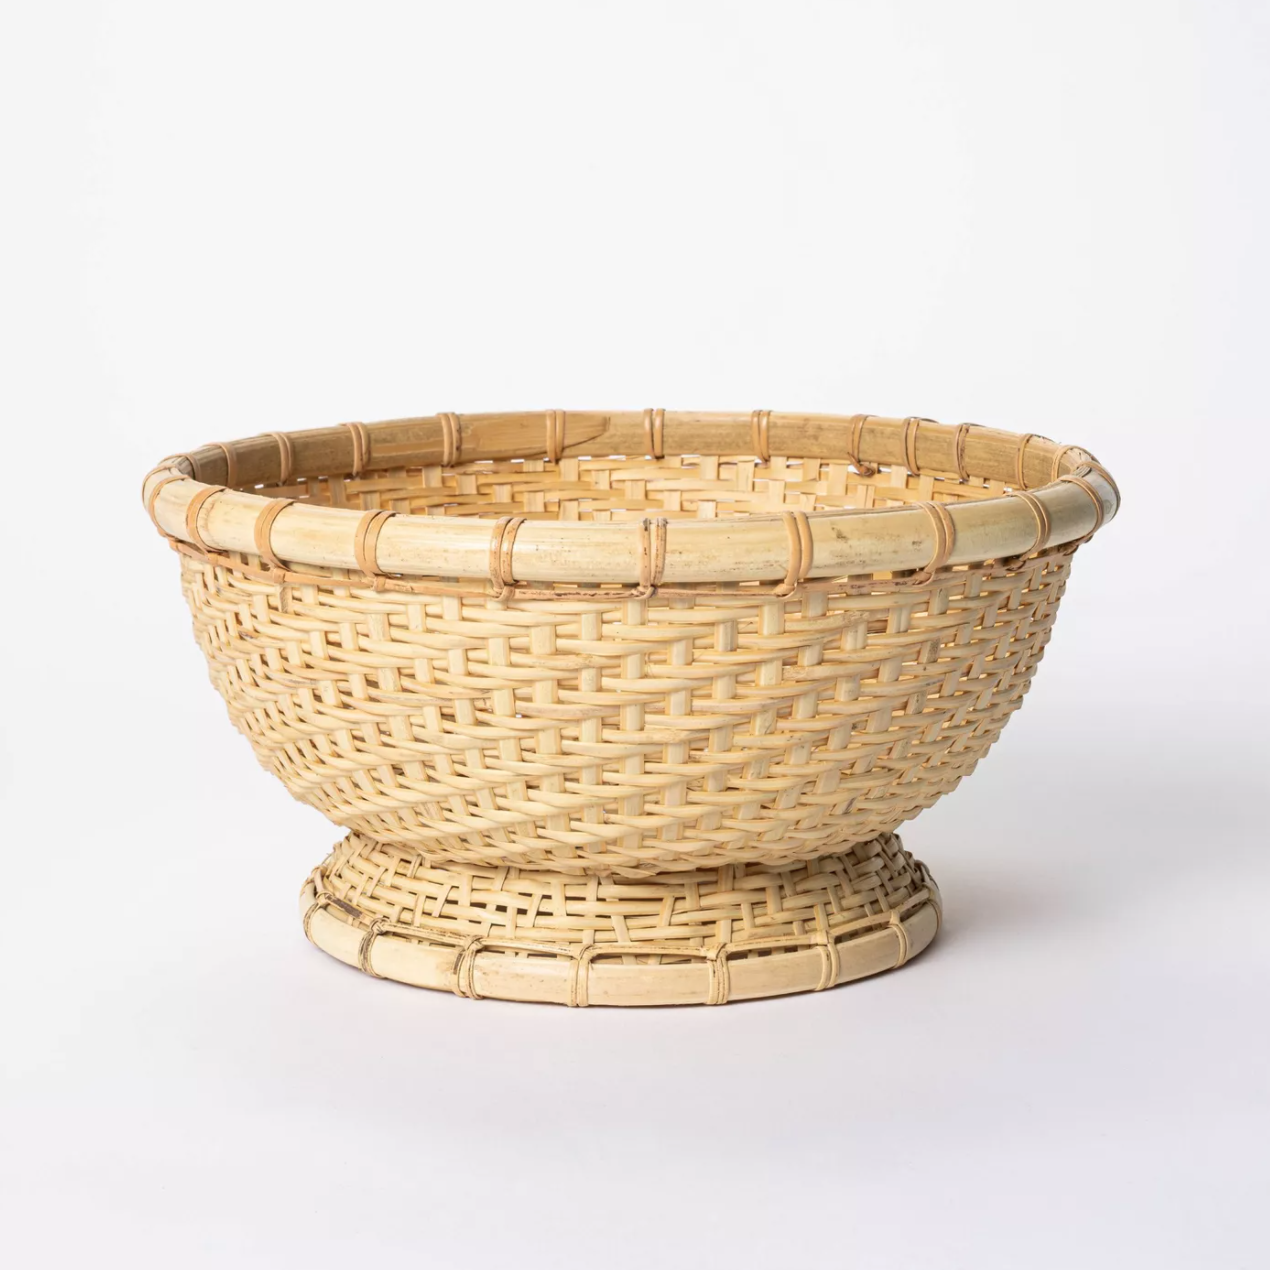
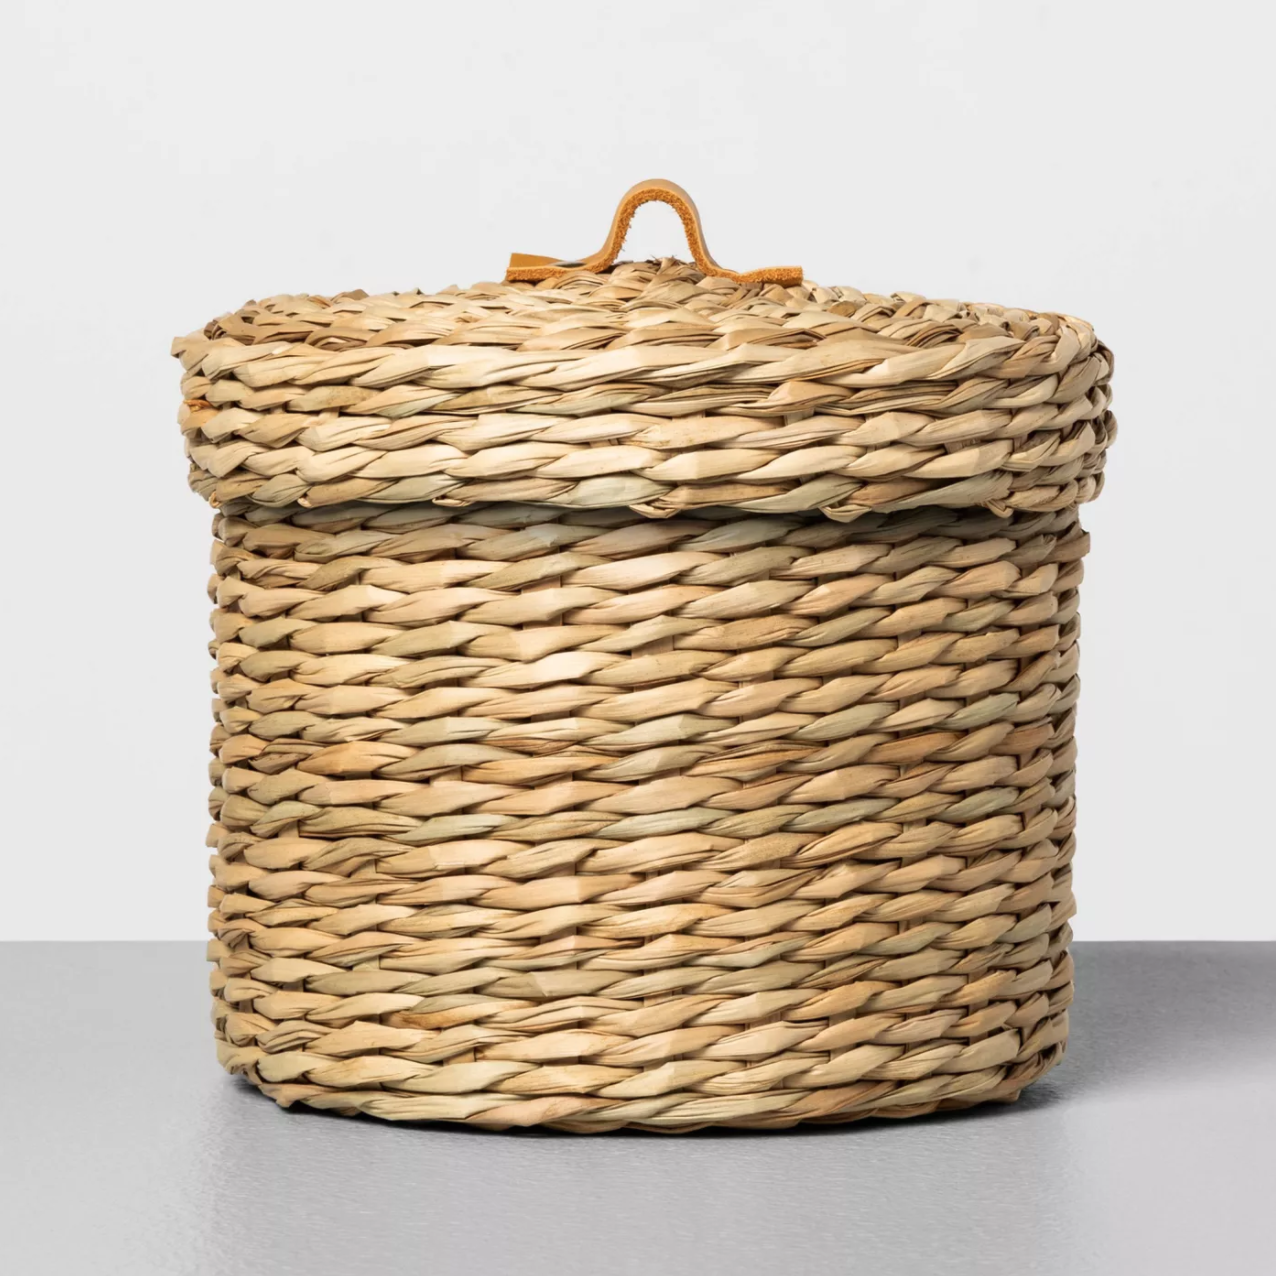
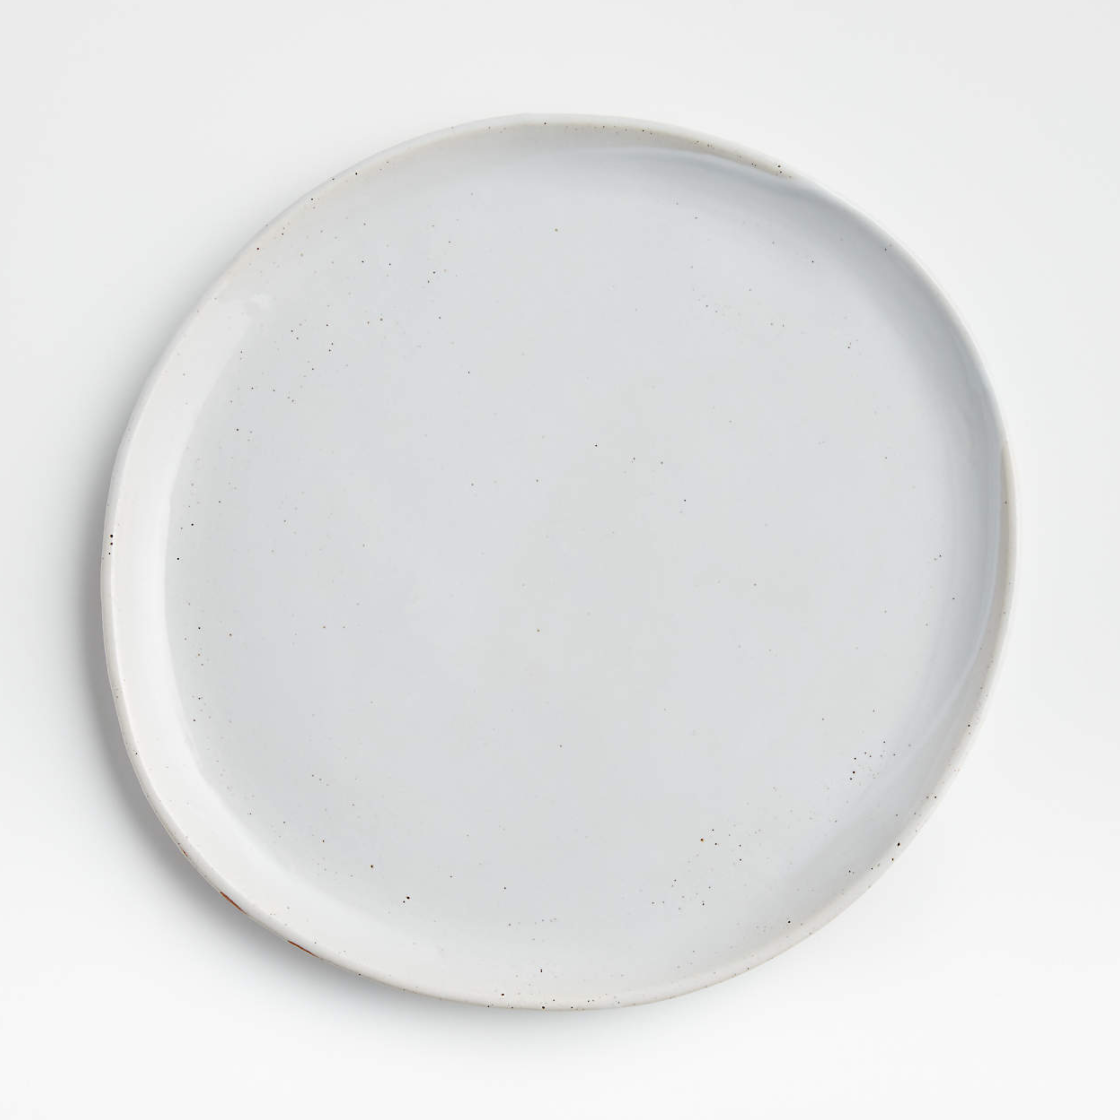
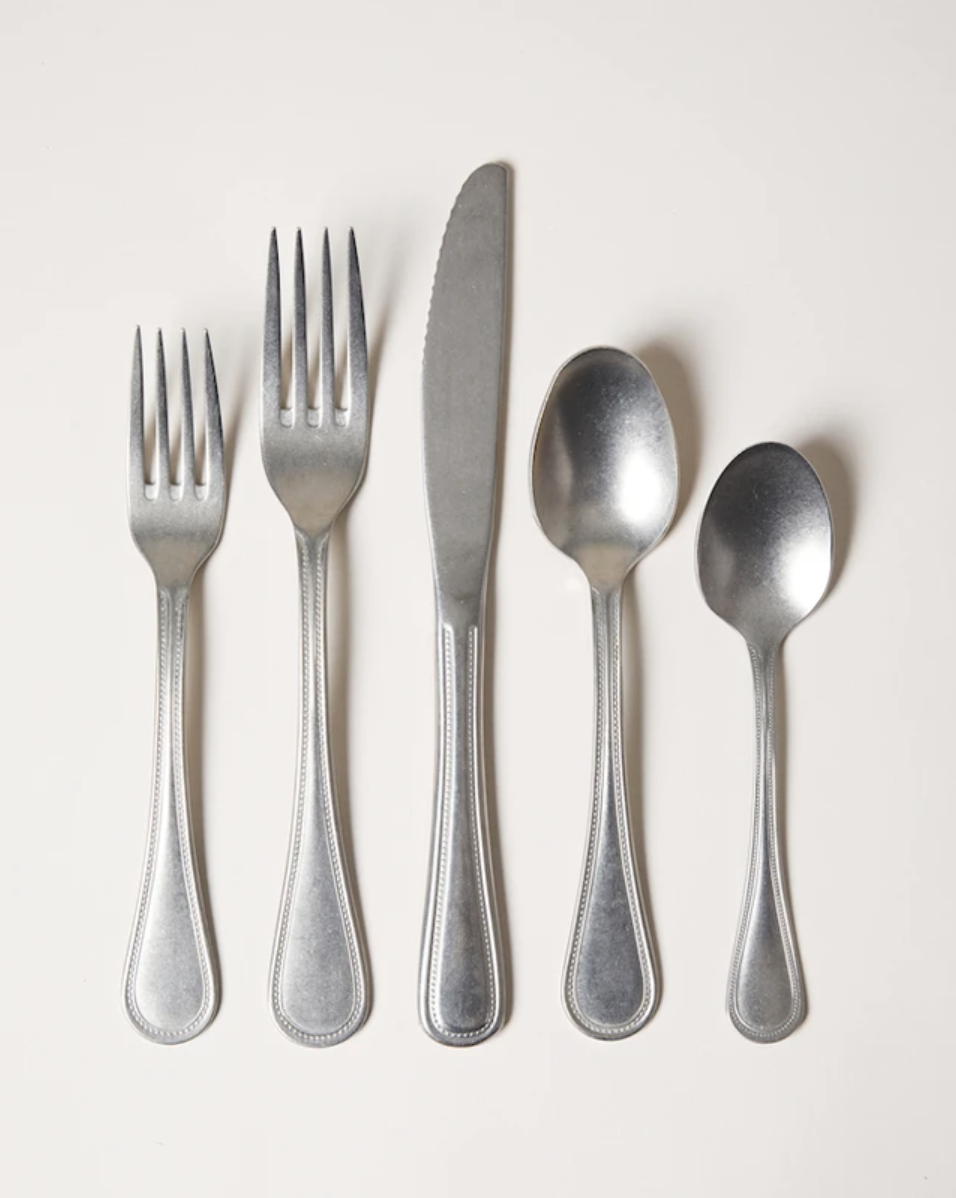
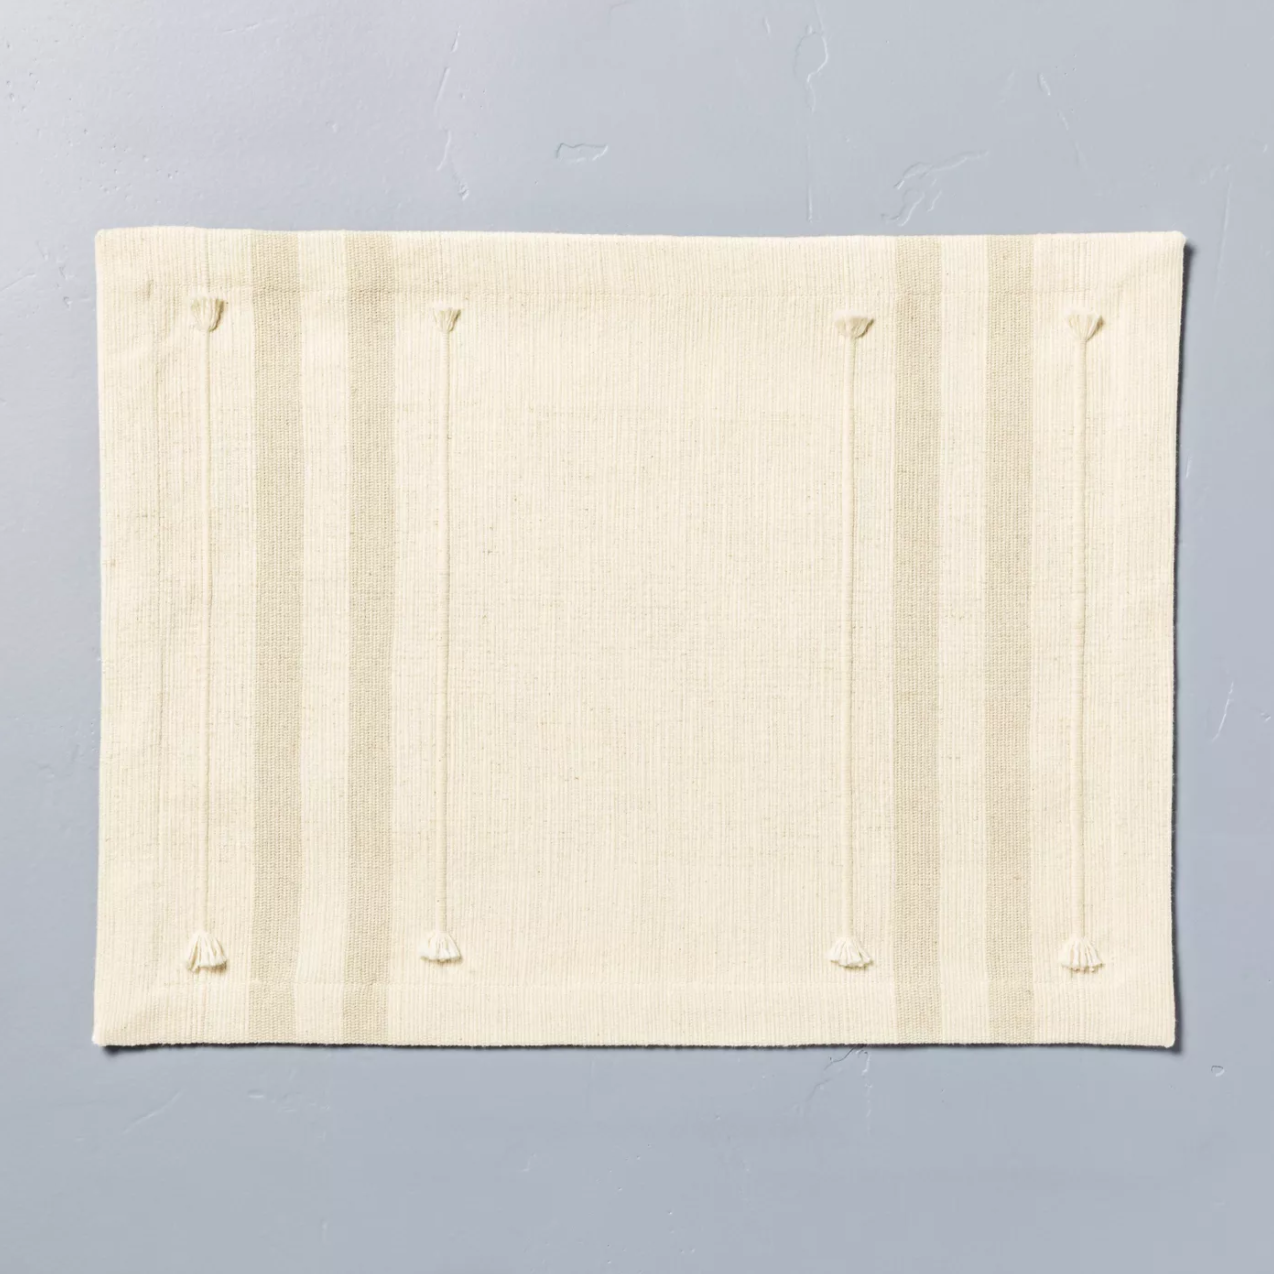
Shop Decor


If you made it all the way to the end, thank you so much for reading! I hope I answered everything you wanted to know about this before and after, but if I missed anything, please leave a comment below!